How To Use MonoBehaviour
We have learned how to load art resources and interact with the UI in the How To Load Assets and How To Interact With UI sections. Next we will use the same project for creation.
MonoBehaviour is the base class from which every Unity script derives. It allows creatives to easily write code for making interactive logic.
But. In XRMOD the platform (policy) restrictions lead to the inability to drag and drop MonoBehaviour onto the GameObject as in traditional Unity development.
There is a sayingIn other words well:"In the end thing will mend", so we use another way to mount MonoBehaviour on GameObject.
This approach we call MonoBinder.
How To Do
At the first, we need to write a class that inherits from MonoBehaviour. Let's do it!
- Go to
YOURPROJECT/Script/Runtime - Create a C# Script class and call it
RotateCubeMonoBehaviour - Double-click on the script to open
using System;
using System.Collections;
using System.Collections.Generic;
using UnityEngine;

namespace HowToCreateProject.Runtime
{
    public class RotateCubeMonobehaviour : MonoBehaviour
    {
        private Transform selfTransform;
        private float currentTime;

        public float timeToDisplay = 5;
        public float RotateSpeed = 5;
        public GameObject ChildGameObject;

        private void Start()
        {
            selfTransform = this.transform;
        }


        private void Update()
        {
            if (selfTransform == null) return;

            selfTransform.Rotate(Vector3.up, Time.deltaTime * RotateSpeed);

            currentTime += Time.deltaTime;
            if (currentTime >= timeToDisplay)
            {
                currentTime = 0;
                ChildGameObject.SetActive(true);
            }
            else
            {
                if (ChildGameObject.activeSelf)
                {
                    ChildGameObject.SetActive(false);
                }
            }
        }
    }
}
Primitive Objects
When we are done editing RotateCubeMonoBehaviour, back to Unity. Use the shortcut keys (Mac: Command+N, Win: Ctrl+N) to create a new scene and create an Unity Primitive Objects in the new scene; create a Cube object by right-click Hierarchy->3D Objects->Cube , select the Cube again, and create a child object for it Sphere and adjust the scale and position.
Mounting MonoBehaviour
Next, drag and drop the RotateCubeMonoBehaviour to mount the Cube game object. Filling the child of Shpere into Child Game Object field of RotateCubeMonoBehaviour. Then set the active state of the child objects of the Sphere game object to deactivated.
Convert And Become A Prefab
We have finished setting up the RotateCubeMonoBehaviour script, but it doesn't run on the XRMOD Engine yet; so we need to configure it further.
The conversion process is fully automatic, so there is no need for the creator to set it up manually.
- Select Cube game object
- Find RotateCubeMonoBehaviour component
- Click Convert to MonoBinder to start the conversion process
- Drag-and-drop Cube to
YOURPROJECT->Artwork->Prefabs, let it become a prefab
Certain restrictions currently exist, click here for more information.
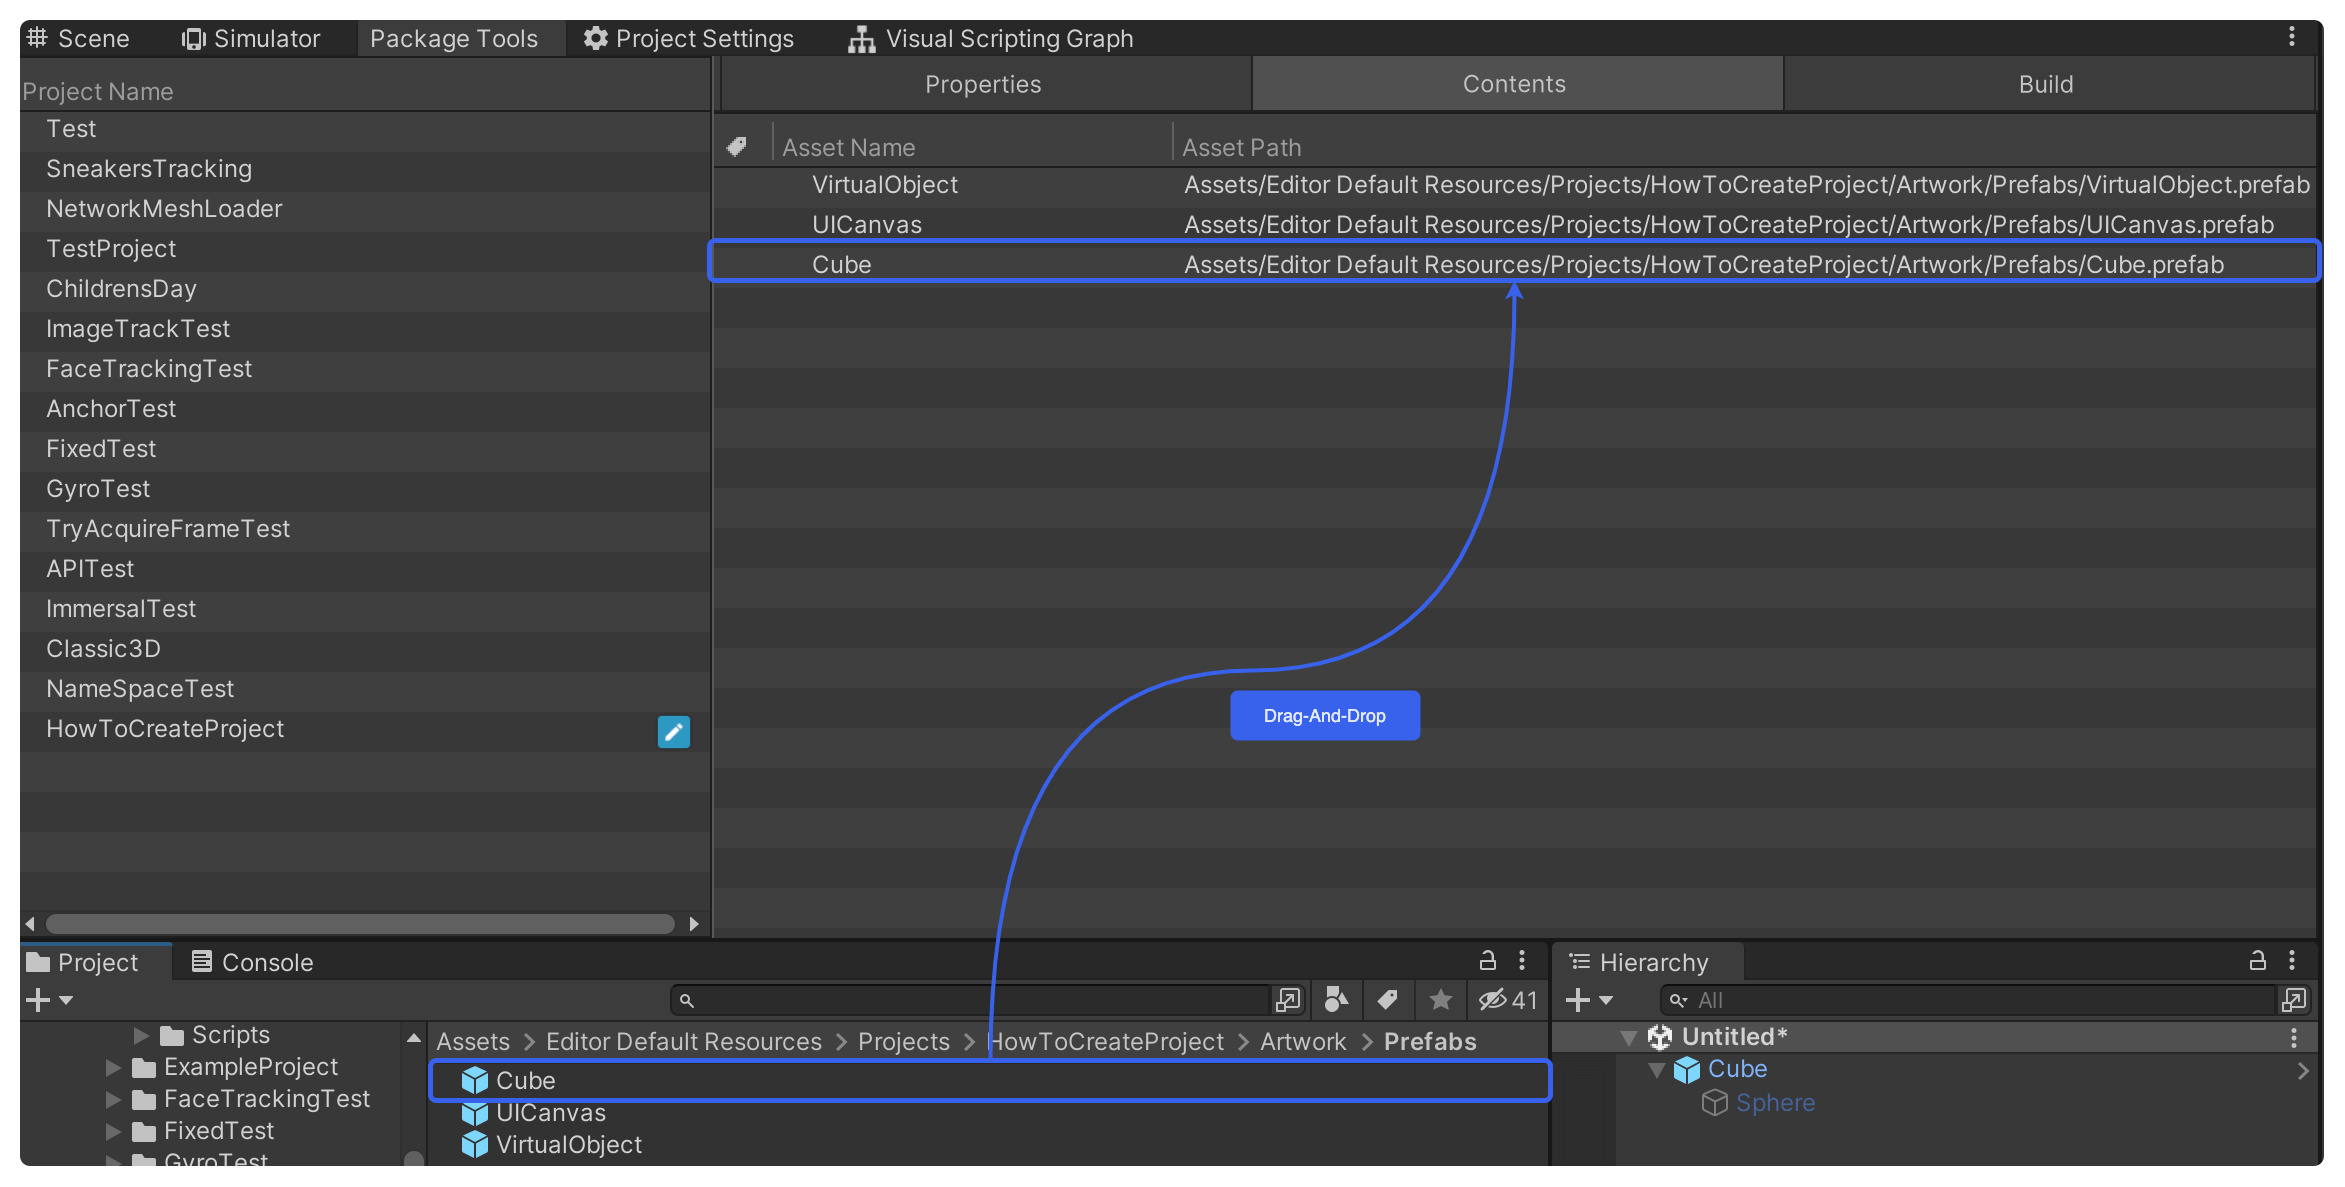
Collection Assets
- Open PackageToolsEditor
- Switch to Contents section
- Drag-and-drop Cube from
YOURPROJECT/Artwork/Prefabsto Contents of PackageTools Editor
Loading Cube
Go to PROJECT_PATH->PROJECT_NAME->Scripts->Runtime and open PROJECTNAMEMainEntry.cs file(By double-clicking).
Then write some code on OnLoad meethod.
ARMODAPI.LoadAssetAsync<GameObject>("Cube"); The object name(Cube) must be the same as in PackageToolsEditor->Contents assets name.
using System;
using UnityEngine;
using System.Collections;
using com.Phantoms.ARMODAPI.Runtime;
using com.Phantoms.ActionNotification.Runtime;
using UnityEngine.UI;
using Object = UnityEngine.Object;

namespace HowToCreateProject.Runtime
{
    public class HowToCreateProjectMainEntry
    {
        //XRMOD API
        internal static API ARMODAPI = new API(nameof(HowToCreateProject));

        public async void OnLoad()
        {
            //Use this for initialization. Please delete the function if it is not used
            var tmp_ARVirtualObjectPrefab = await ARMODAPI.LoadAssetAsync<GameObject>("VirtualObject");
            Object.Instantiate(tmp_ARVirtualObjectPrefab);

            var tmp_UICanvasPrefab = await ARMODAPI.LoadAssetAsync<GameObject>("UICanvas");
            var tmp_UICanvas = Object.Instantiate(tmp_UICanvasPrefab);
            var tmp_ClickMeGo = tmp_UICanvas.transform.Find("ClickMe");
            var tmp_ClickMeBtn = tmp_ClickMeGo.GetComponent<Button>();
            tmp_ClickMeBtn.onClick.AddListener(() => { Debug.Log("Clicked me!!!"); });

            var tmp_CubePrefab = await ARMODAPI.LoadAssetAsync<GameObject>("Cube");
            var tmp_Cube = Object.Instantiate(tmp_CubePrefab);
        }
    }
}
Build XR-Experience
- Go to PackageToolsEditor
- Switch to Build section
- Select the platform you need to build.
- Click the Build AR-Experience button to start the build
Build Platform and Platform Group The two selected platforms must be the same.
Testing
Now we have done all the work, but we don't know if the content loads properly yet, so we need to test further to verify our results.
How to testing?
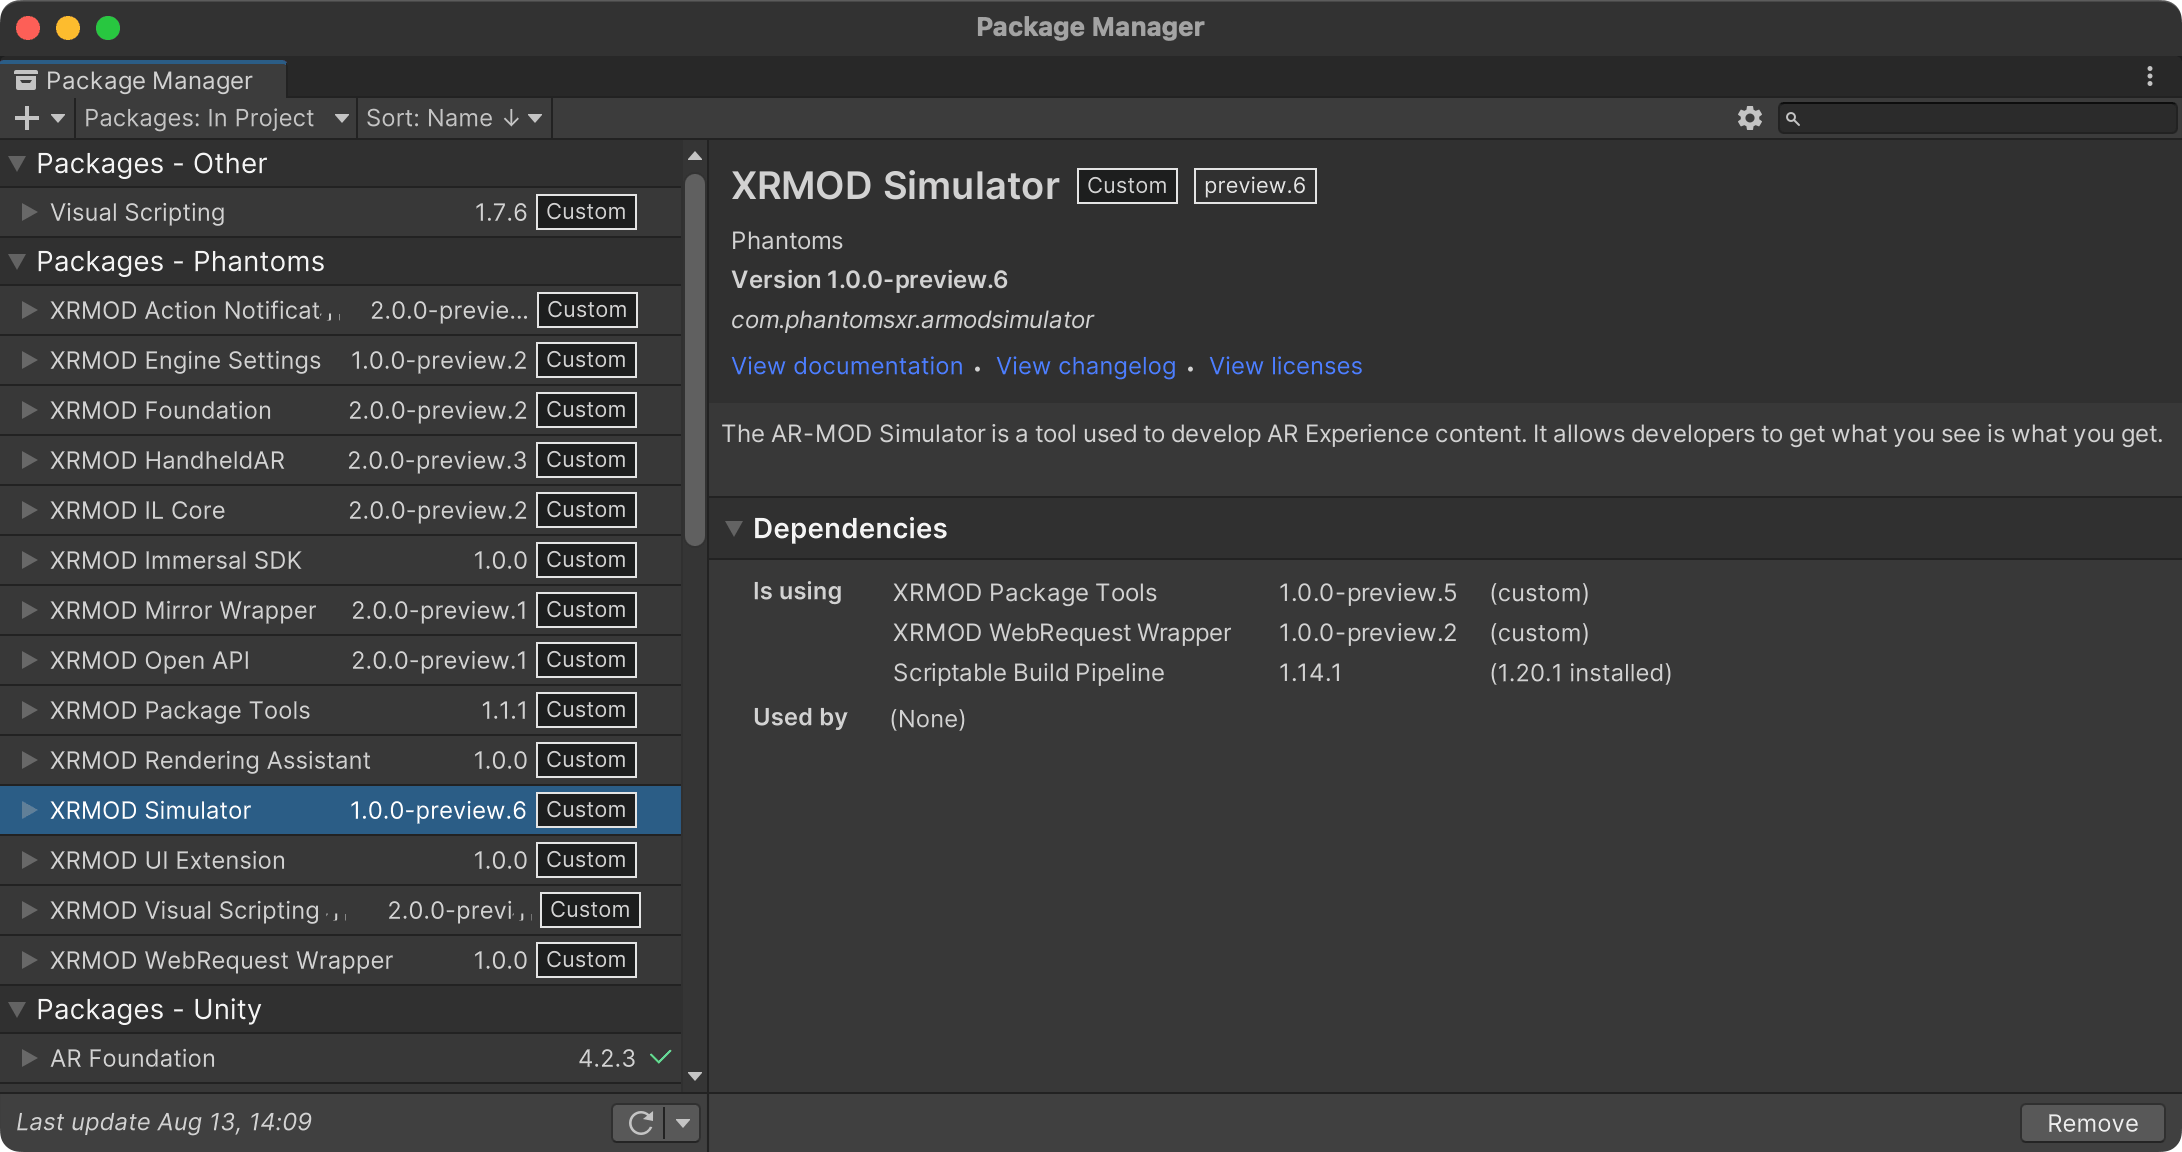
XRMOD Engine currently provides processes such as loading tests within the Unity Editor, so we can verify all logic from within the Unity Editor. Before we can start testing we need to install the XRMOD Engine Simulator plugin via the Unity Package Manager.
Click here to learn how to install the XRMOD engine toolchain.
In here, we need to install XRMOD Engine Simulator plugin.
When you finish the installation you can see an XR button in the top left corner of the Unity editor, which is mainly used to start the XRMOD Engine emulator.

Launch Simulator
- Click left-top XR Play button to launch XRMOD Engine simulator
- Switch to Game view
- Typing your project name into simulator
- Click Fetch Project to loading our project
Summary
In this section we learned how to use MonoBehaviour in XRMOD Engine. Using MonoBehaviour in XRMOD Engine has only one more step, which is to convert MonoBehaviour to MonoBinder.
It is also known that MonoBinder has certain limitations, which can be reviewed here.