Create An AR World Experience
Introduction
In the last article we have created the first XR-mod experience, in this section we will create an AR world experience from zero to one.
What is the AR World?
In short, the AR world is a virtual world, or call it the earth Clone Project. We use computer technology to clone the earth and digitize all the physical objects on the earth. Then the digital the earth is matched one-to-one with the real the earth. We can see the enhancement of the digital earth to the real the earth through XR headset.

We are in the pre-change phase, so cloning the entire the earth is difficult for us. Although we cannot clone the whole earth, we can clone a small part of it, such as buildings, shopping areas, parks, and landmarks.

Prepare
Tools
Before starting to create AR experiences, the following software and development kits must be installed:
| Content Dev-Tools | XRMOD tools chain |
|---|---|
|
|
How do I get a development kit?
- You can read this article to install it!
How to create a Unity project?
- You can read this article to create it!
Mapping Physical World
If you don't know how to mapping the world, you can click here to read more.
Create An XRMOD Project
Introduction
Before starting to create, you need to understand the XR-MOD project directory structure. When we use PackageTools to create the structure as follows:
ARWorldCase
    ├─Artwork
    ├─AutomaticGenerated
    ├─Configures
    └─Scripts
      ├─Editor
      └─Runtime
| Name | Describe |
|---|---|
| ARWorldCase | Project name for the XR-MOD project |
| Artwork | Store and manage art resources, you can create subfolders for classified management |
| AutomaticGenerated | When building the package body, such as MOD dll, AR function configuration files, etc. are automatically generated and are necessary configurations |
| Configures | Automatically created when the project is created to cache the configuration of the AR function. After the project is created, it cannot be deleted, otherwise an error will be reported |
| Scripts | The location where all the code of the project is stored |
| Editor | It is only used in the Unity Editor, generally stores auxiliary resource scripts such as the quick configuration panel of the project, and does not participate in runtime construction |
| Runtime | Stores the runtime code of AR projects, more scripts can be created to implement more interesting logic |
XR-MOD will not automatically load the resources in the AR experience package, and the script needs to load it by itself
Start Creating
Through the previous introduction and preparation, we have a clear understanding of XRMOD Engine, and then we will lead you to create the first XRMOD Engine project. First, we open the XRMOD Engine project builder through Tools->XRMOD->Package Tools Editor, as shown in the following figure.

If you don't know how to use Package Tools Editor, please click here to check.
- Create a project by right-clicking in the
project areaand selectingNew Projectfrom the popup menu - At this point, another interface will pop up, as shown in the following figure.
- Select the
BLANKtemplate to create, then typing theproject nameandproject storage locationon the right - Click the
CREATEbutton in the lower right corner to start creating the project

Import Assets
- Art Assets
Import your own art resources and store them in theArtworkfolder. - Map Data
Download the mapp data from our cloud, then import to our XRMOD project; Put it toArtwork/Mapdata.
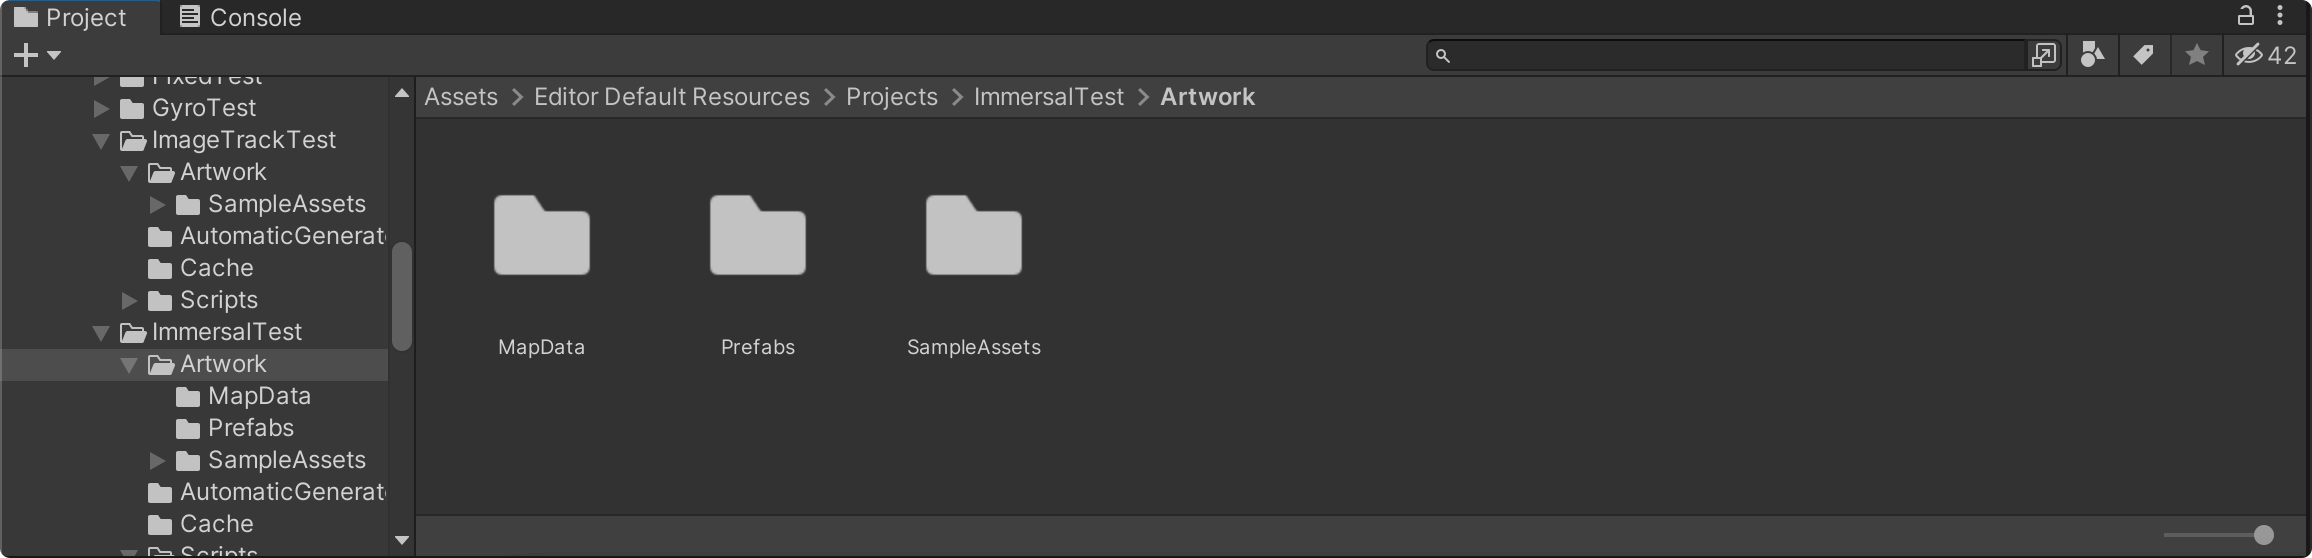
If you don't have a Mapdata folder in your project, you have to create one yourself.
Create ARMap Visualizer
If your compture is Apple Slicon version,you can't saw the ARMap Visualizer. Because our framework does not currently support Apple Slicon, we will release a supported version in the next quarter.
- Create a new scene;
- In
Hierachyto create a newEmpty GameObjectand rename toARMap; - Script for adding a new
ARMapcomponent via theAddComponentbutton. When the script is added, we will automatically create an ARSpace for the ARMap and set the ARMap as a child node of the ARSpace; - Drag and drop our map data into the
MapFilefield of theARMapscript; - Drag the ARSpace in the scene to the Artwork/Prefabs folder of the XRMOD Project in the Unity Project Panel to make it a Prefab.
We recommend that creatives create a new scene to build the ARMap.
Align Virtual Object
If your compture is Apple Slicon version,you can't saw the ARMap Visualizer. Because our framework does not currently support Apple Slicon, we will release a supported version in the next quarter.
Now we pair the virtual object with our point cloud data.
- Drag and drop virtual objects into the Scene
- Expand ARSpace to see ARMap GameObject; place the virtual object inside ARMap GameObject, which becomes ARMap sub-object.
- Adjust the position of the virtual object to align with our point cloud for the position (you can align it as you like over here).
The virtual object is now aligned with the point cloud so that we can see the virtual object appear at the specified location once we recognize the collected space.
Finally save our Prefab edit results by selecting ARSpace -> Inspector -> Overrider -> Apply All.
Localizer Event
If your compture is Apple Slicon version,you can't saw the ARMap Visualizer. Because our framework does not currently support Apple Slicon, we will release a supported version in the next quarter.
Currently as soon as the ARMap is loaded, our virtual objects are shown, which is obviously not the effect we expect. The correct effect should be to recognize the space and then show the virtual object.
And how should I do it? Do I need to write code?
We don't need to write code, we just need to set the active state of the ARMap sub-object (our virtual object) to False.
Select ARMap and find ARMap component in Inspector, find Event in ARMap component click + in the lower right corner to add a reference slot, drag and drop our virtual object into it, then select Function, function set to GameObject/SetActive and set its value to True.
Then set our virtual object Active to False.
Finally we need to save the results of our Prefab edits, which can be done by selecting ARSapce GameObject in the Inspector and choosing Overrider-> Apply All.
Configuration experience
In the previous step we have already created all the necessary resources, next start the configuration, set XR-MOD Project Properties:
- Set the
Device TypeofXR AlgorithmtoHandheld AR - set
XR AlgorithmtoImmersal - Add
Programmable - Keep all default
To learn more about attribute feature blocks, please see the following links:
Collection Objects
All configurations have been completed. Go to the Contents section, then go to Prefabsfolder and drag-and-drop ARSpacePrefab to Contentsarea.
Loading Asset At Runtime
With the above introduction, we know that XR-MOD will not automatically load our resources; next let's write a simple script to implement it.
XRMOD provides both C# and visual scripting, and you can choose either one for implementation.
Double click through YOUR_PROJECT->Scripts->Runtime->YOUR_PROJECTMainEntry.cs to open our script.
- Then add two lines of code inside the script's
OnLoadfunction. - Comment out any functions that you don't need to use first.

- C#
- VisualScripting
using System;
using UnityEngine;
using System.Collections;
using com.Phantoms.ARMODAPI.Runtime;
using com.Phantoms.ActionNotification.Runtime;

namespace ImmersalTest
{
    public class ImmersalTestMainEntry
    {
        //XRMOD API
        internal static API ARMODAPI = new API(nameof(ImmersalTest));

        private GameObject ARSpace;

        public async void OnLoad()
        {
            //Use this for initialization. Please delete the function if it is not used
            var tmp_ARSpacec = await ARMODAPI.LoadAssetAsync<GameObject>("AR Space");
            ARSpace = GameObject.Instantiate(tmp_ARSpacec);
        }

        // public void OnEvent(BaseNotificationData _data)
        // {
        //     //General event callback. Please delete the function if it is not used
        // }

        // public void OnUpdate()
        // {
        //     //Like Unity Update method. Please delete the function if it is not used
        // }

        // public void ReleaseMemory()
        // {
        //     //Release Memory after AR close. Please delete the function if it is not used
        // }
    }
}
Name can be set according to preference
Create a visual scripting graph(SciptGraph) into your project's Scripting/Runtime folder and rename it to ARWorldVS.
Now let's implement the logic of the visualization script.
- Add
XRMOD APInode to the visual canvas - Typing your name of project in the
ProjectNamefield of theXRMOD APInode - Add
Load Assets(Async)node to the visual canvas - Typing the name of the game object you want to load to the
Namefield of theLoad Assets(Aysnc)node - Connection
XRMOD APItoLoad Assets(Async) - Add
On Startnode to the visual canvas - Connection
On StarttoXRMOD API - Select the
On Startnode and setCoroutinetoTrueon the left side panel
Load Assets(Async) node must use coroutine to start it.
Visual Scripting GameObject
- Then create an empty gameobject in the
Hierarchyand rename toARWorldVS - Add
Script Machinecomponent to your gameobject viaAddComponentbutton - Drag-and-drop your visual scripting graph file into
Graphfield of theScript Machinecomponent - Drag your visual scripting gameobject into project panel to make it Prefab
- Drag your visual scripting gameobject prefab to
PackageToolsEditor->Contentssection
Visual Scripting Entry
- Open PackageToolsEditor and editing your XRMOD project
- Typing your VisualScripting game object name into
Main Visual Scriptingfield - Swtich to
Propertiessection - Find the
Programmableblock - Set
Programmable Typeblock of theProgrammablefromCSharptoVisualScripting
VisualScripting gameobject name must be the same as the name in Contents section
Build
Now that we have all the configuration done, next we need to build it into an experience package.
- Create new scene with short-key
Ctrl+NorCommand+N, we don't save the current scene - Switch to
Buildsection - Set the
build platformandplatform groupandcompression formataccording to your desired platform - Click
Build AR-Experiencebutton to trigger build process
Build Platform and Platform Group must be consistent, otherwise an error will occur.
Deploy
Our sdk provide many plans. Broadly divided into two categories:
- Online plans
- Offline plans
The process of deploying XR experience for these two plans is different, and we will explain the different deployment modes in the two models below.
- Online Plan
- Offline Plan
The online plan is relatively simple, just go to the XRMOD Cloud back office and login to your account to deploy.
- Create a new App if app don't exist
- Create a new Project if project don't exist
- Upload your XR-Experience package to your desired platform
- Click the
Show in file browserbutton to go to the XR experience package directory after your XRMOD project build.You will see the following files:
| Name | Type | Description |
|---|---|---|
| focusexample.arexperience | arexperience | All experience inculded, e.g. 3DModels,Textures,Scripts |
| focusexample.json | json | ARExperience file detail and all contents information |
| buildlogtep.json | json | Build detail |
We just need to upload YOUR_PROJECT_NAME.arexperience and YOUR_PROJECT_NAME.json files. build.json is the project build log file, so we do not upload it.
desired platform means the platform you choose when building.
Now you can upload your build assets to the XRMOD cloud.To learn more about XRMOD Cloud click here for more information.
As the name suggests, the offline plan cannot be loaded using the network, so we need to put the XR-Experience package inside the APP package. Here we have specified a specific directory:
| Platform | Path |
|---|---|
| Android | "jar:file://" + Application.dataPath + "!/assets" |
| iOS | Application.dataPath + "/Raw" |
| Unity | StreammingAssets/PLATFORM/PROJECT/ |
We need to copy all the contents of the platform folder to the corresponding path in the table above.
Where can I found the XR-Experience package?
Go to Build Section and click Show in file browser button, you will see them.