Object Capture
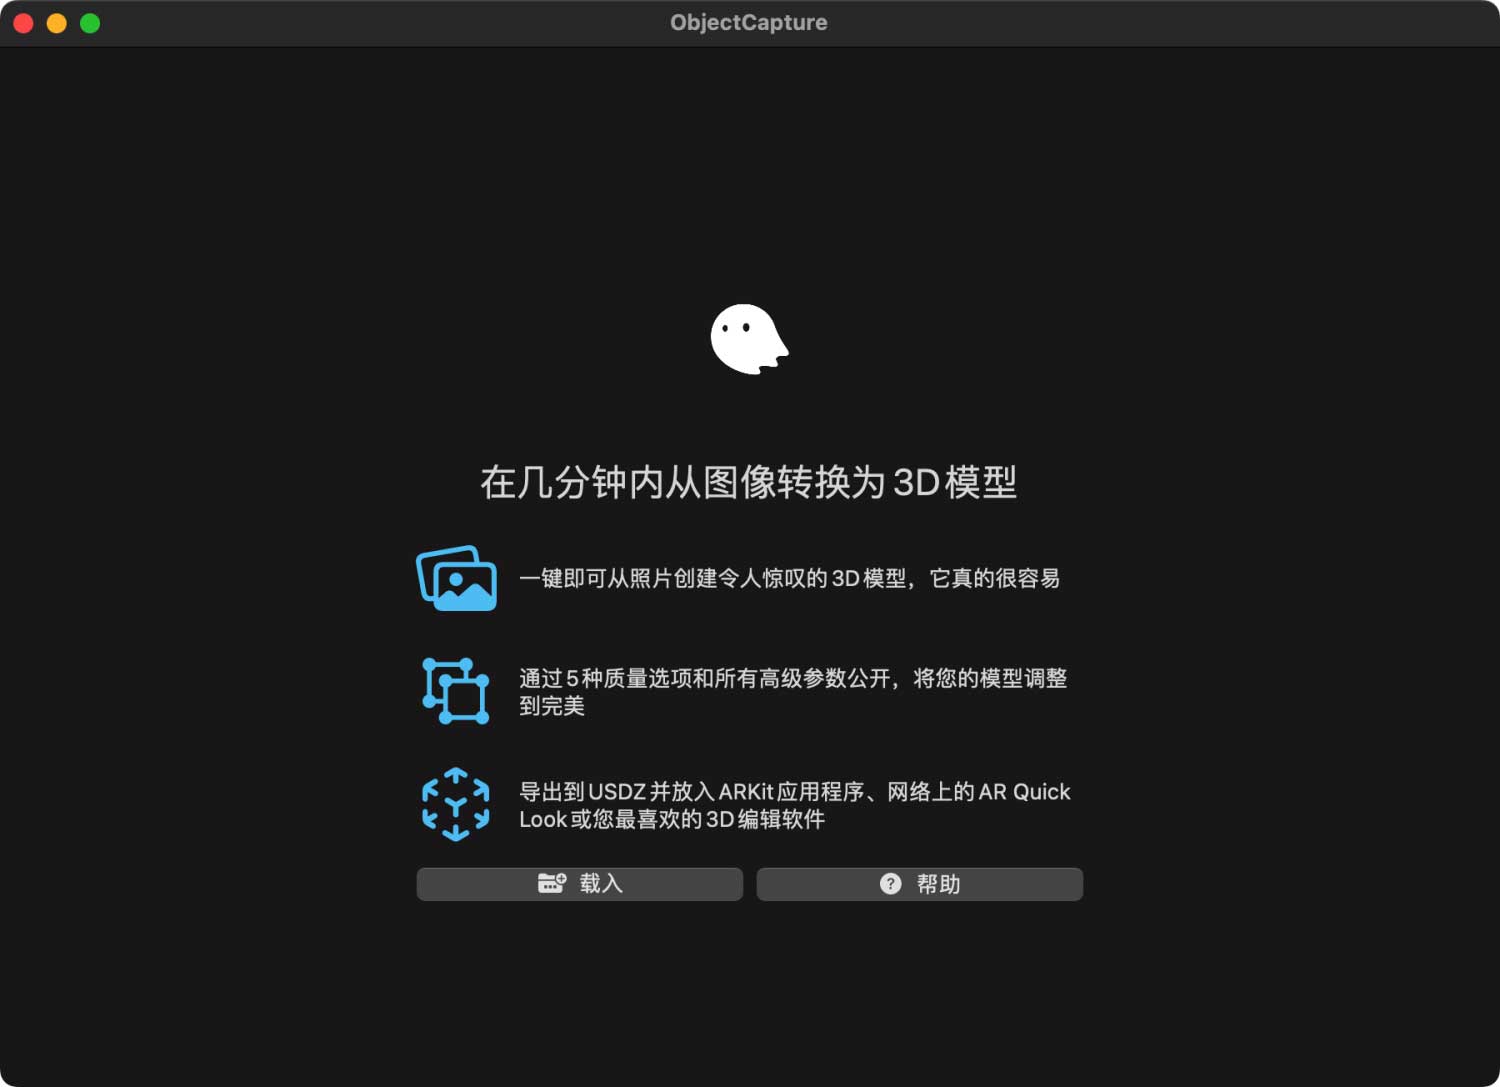
Turn photos from your iPhone or iPad into high‑quality 3D models that are optimized for AR using the new Object Capture API on macOS Monterey. Object Capture uses photogrammetry to turn a series of pictures taken on your iPhone or iPad into USDZ files that can be viewed in AR Quick Look, seamlessly integrated into your Xcode project, or used in professional 3D content workflows.
Get Started
Select the object you want to generate
In the selection of objects, choose static objects that are not easy to bend or deform, and avoid using very thin, transparent or translucent objects; at the same time, there may be problems in the generation of objects with solid colors, smooth surfaces, and reflective materials
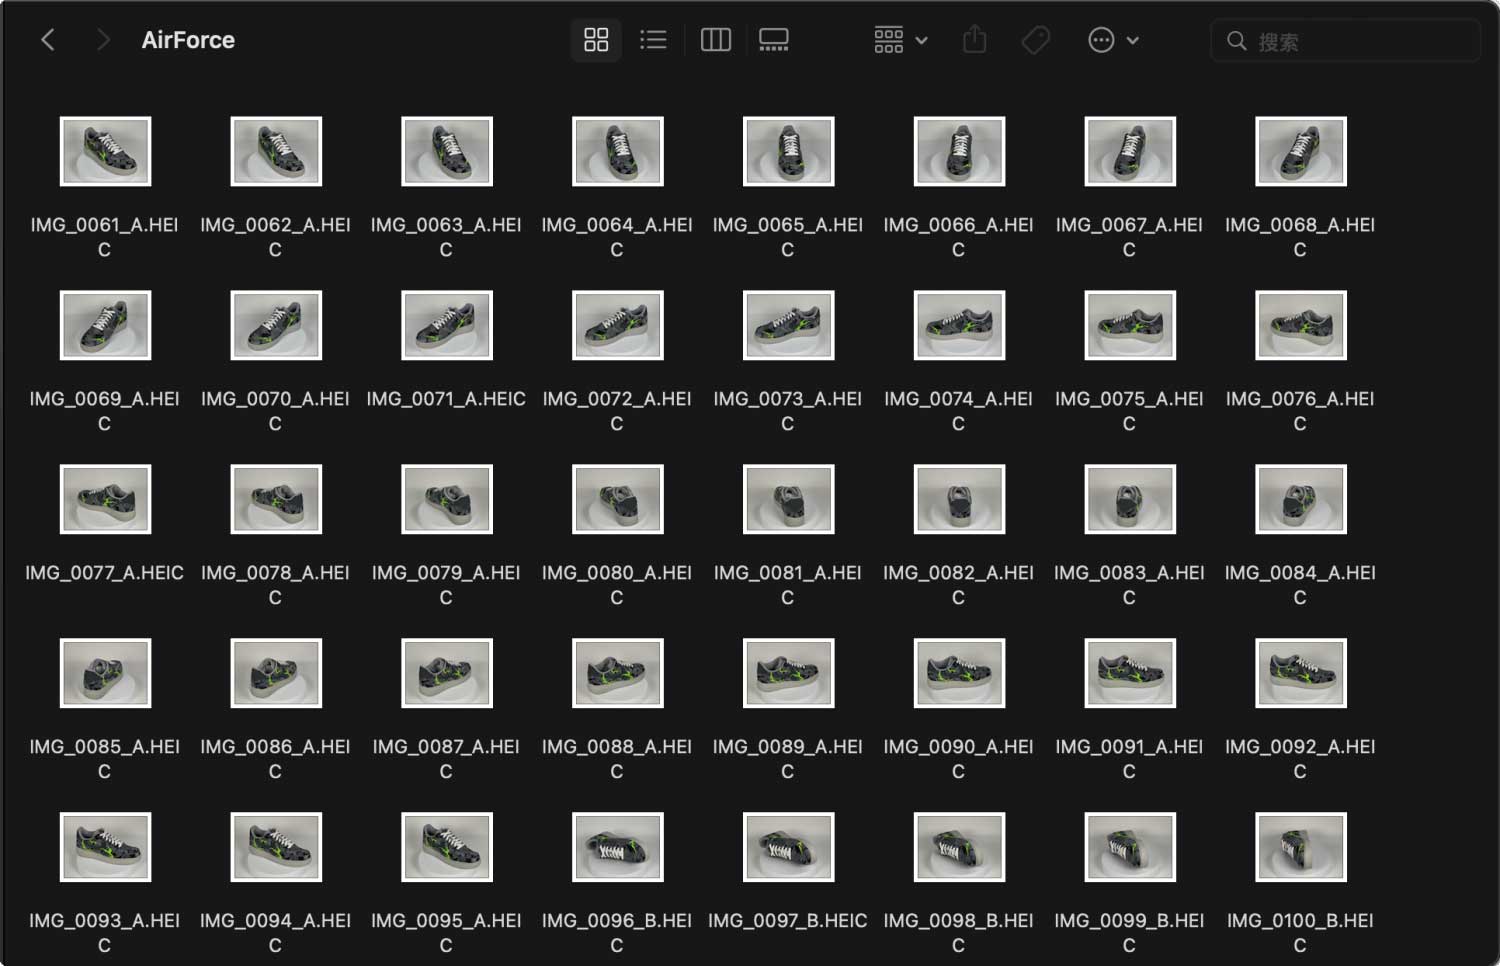
Take a group shot around an object
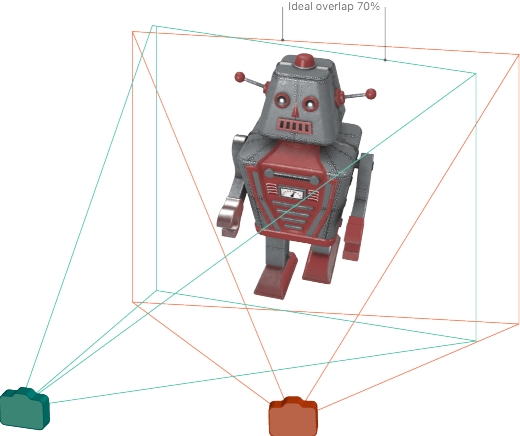
Move the camera around the object and take photos from different angles and heights, with at least 70% overlap between adjacent photos. It is recommended to take at least 30 photos
Load image to create 3D model
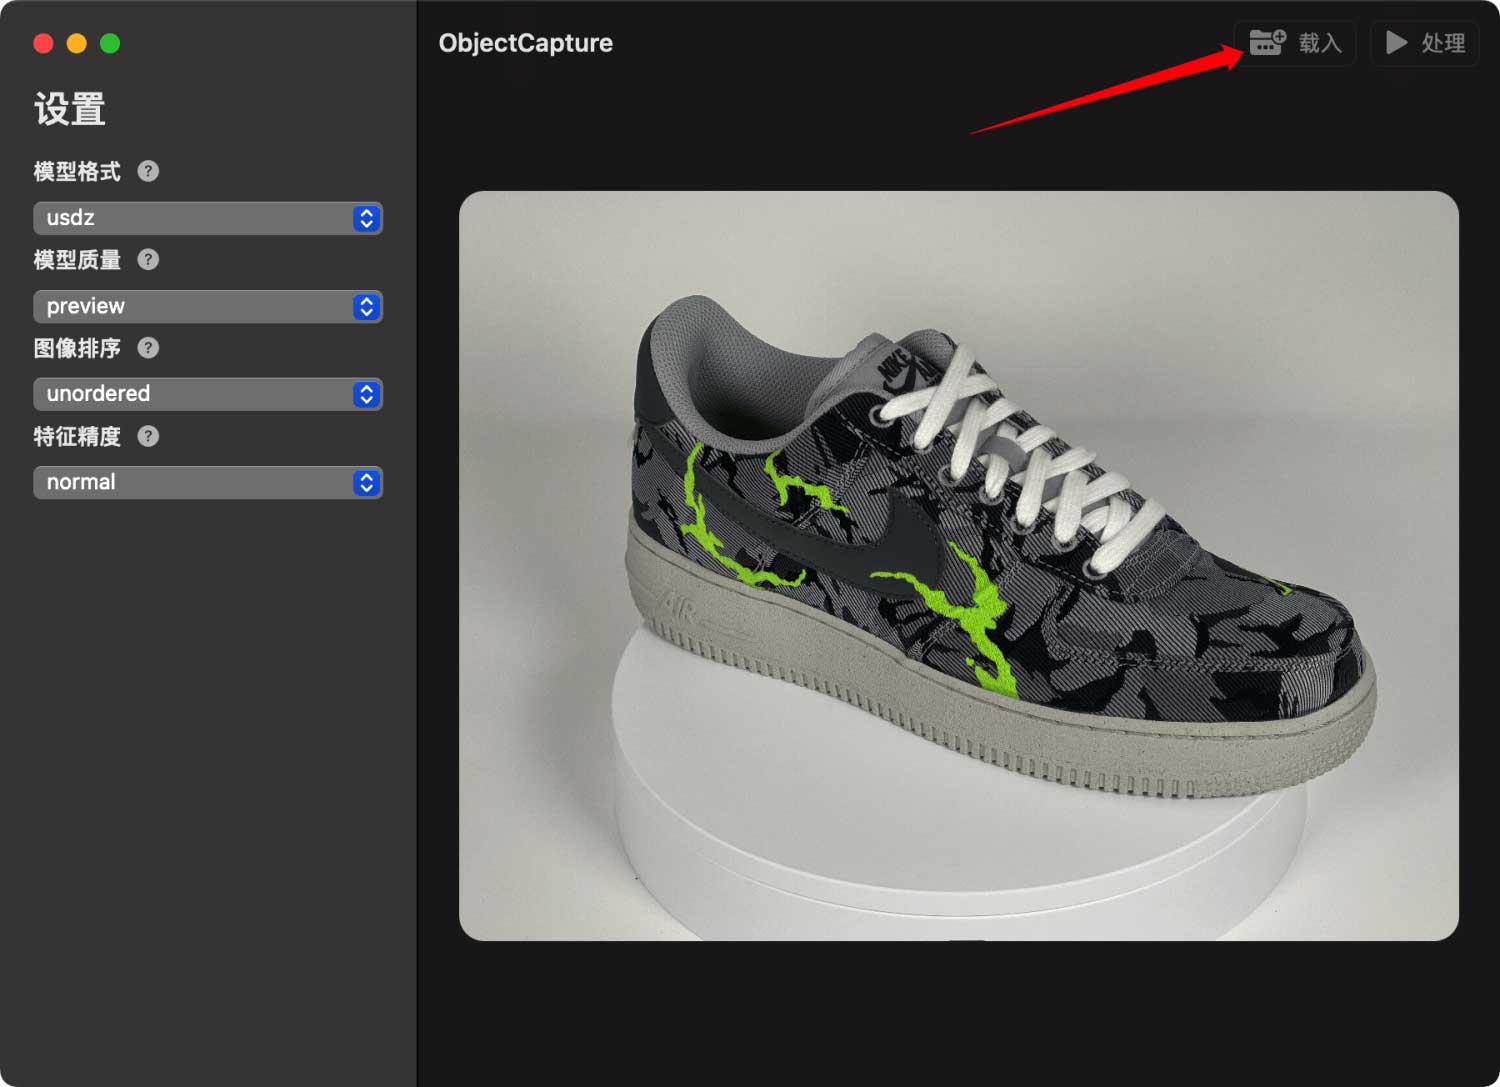
Start building
Start building the model by clicking the Process button; the parameter settings on the left can refine the model structure and effects. The output path of the built model must be placed in the image source folder.

Take Photo Guide
Subject selection
The following descriptions apply to most cases, and there are special cases in a small number of cases. In theory, the quality of photo shooting can improve the modeling effect of the generated objects.
| Quality | Requirements | Example |
|---|---|---|
| Good | Rich texture, non-reflective, medium size | Shoes, food, some figures, plush toys, bronzes, stones, etc. |
| Normal | Objects are weak texture, slightly reflective, thin, hollow | Beverages, green plants, ceramic utensils, cars, etc. |
| Not Good | Repeated textures, ultra-thin and ultra-fine objects, no textures/large reflections, flexible objects, transparent, hollow, looking up, etc. | Glasses, stationery pens, books, mobile phones, etc. |
Environment
The environment will directly affect the model quality, please arrange the environment before shooting.
Camera Movement
Fix the object to be photographed, and take pictures from different angles by moving the camera. In this shooting mode, choose a clean, solid color background, such as a white wall, etc. It is recommended to use a stabilizer and other equipment to ensure the quality of the photos taken.
Object Moving
Turntable shooting, place the object on the turntable, turn the turntable, and keep the mobile phone stationary for shooting. To ensure a clean background, it is recommended to choose a white wall or cover the background.
Shooting Tips
The screen ratio of the object in the shooting should be as large and complete as possible, and it is required to ensure that the shooting has no virtual focus, no motion blur, and no jitter blur. Comprehensive and multi-perspective shooting of objects, including looking up, looking up, looking down, etc.
- Lighting: need to ensure adequate lighting and avoid a lot of shadows
- Shooting equipment: camera, mobile phone can be used to avoid blurred objects due to depth of field, disable flash

Provide multiple photos of the same object from different angles, as shown in the figure, take a circle at each angle, and provide 3 to 4 angle pictures; if you need to generate a position that cannot be photographed, such as the bottom, you need to further provide the model's side lying. Take pictures.
When moving around the subject, there should be at least 70% overlap between adjacent photos. It is recommended to take at least 30 photos to provide more pictures and help generate higher quality 3D models.