Simulator
As we know, that developing with Unity is a relatively enjoyable process, mainly because it's WYSIWYG and doesn't require tedious building and retesting, etc.
But for now, developing an XR experience requires repeated builds and tests, which wastes too much of our time.
Because running XR requires hardware devices, Unity can't help us with the environment simulation.
XRMOD Engine does not escape this fate either. Although XRMOD Engine can be used for debugging content after only one build, it occasionally fails to locate errors during the debugging process.
So we provide a simple tool to validate most of the errors within the Unity editor, although we call it an emulator but it's not the same as an actual emulator.
Get Started
Installation
XRMOD Engine currently provides processes such as loading tests within the Unity Editor, so we can verify all logic from within the Unity Editor. Before we can start testing we need to install the XRMOD Engine Simulator plugin via the Unity Package Manager.
Click here to learn how to install the XRMOD engine toolchain.
In here, we need to install XRMOD Engine Simulator plugin.
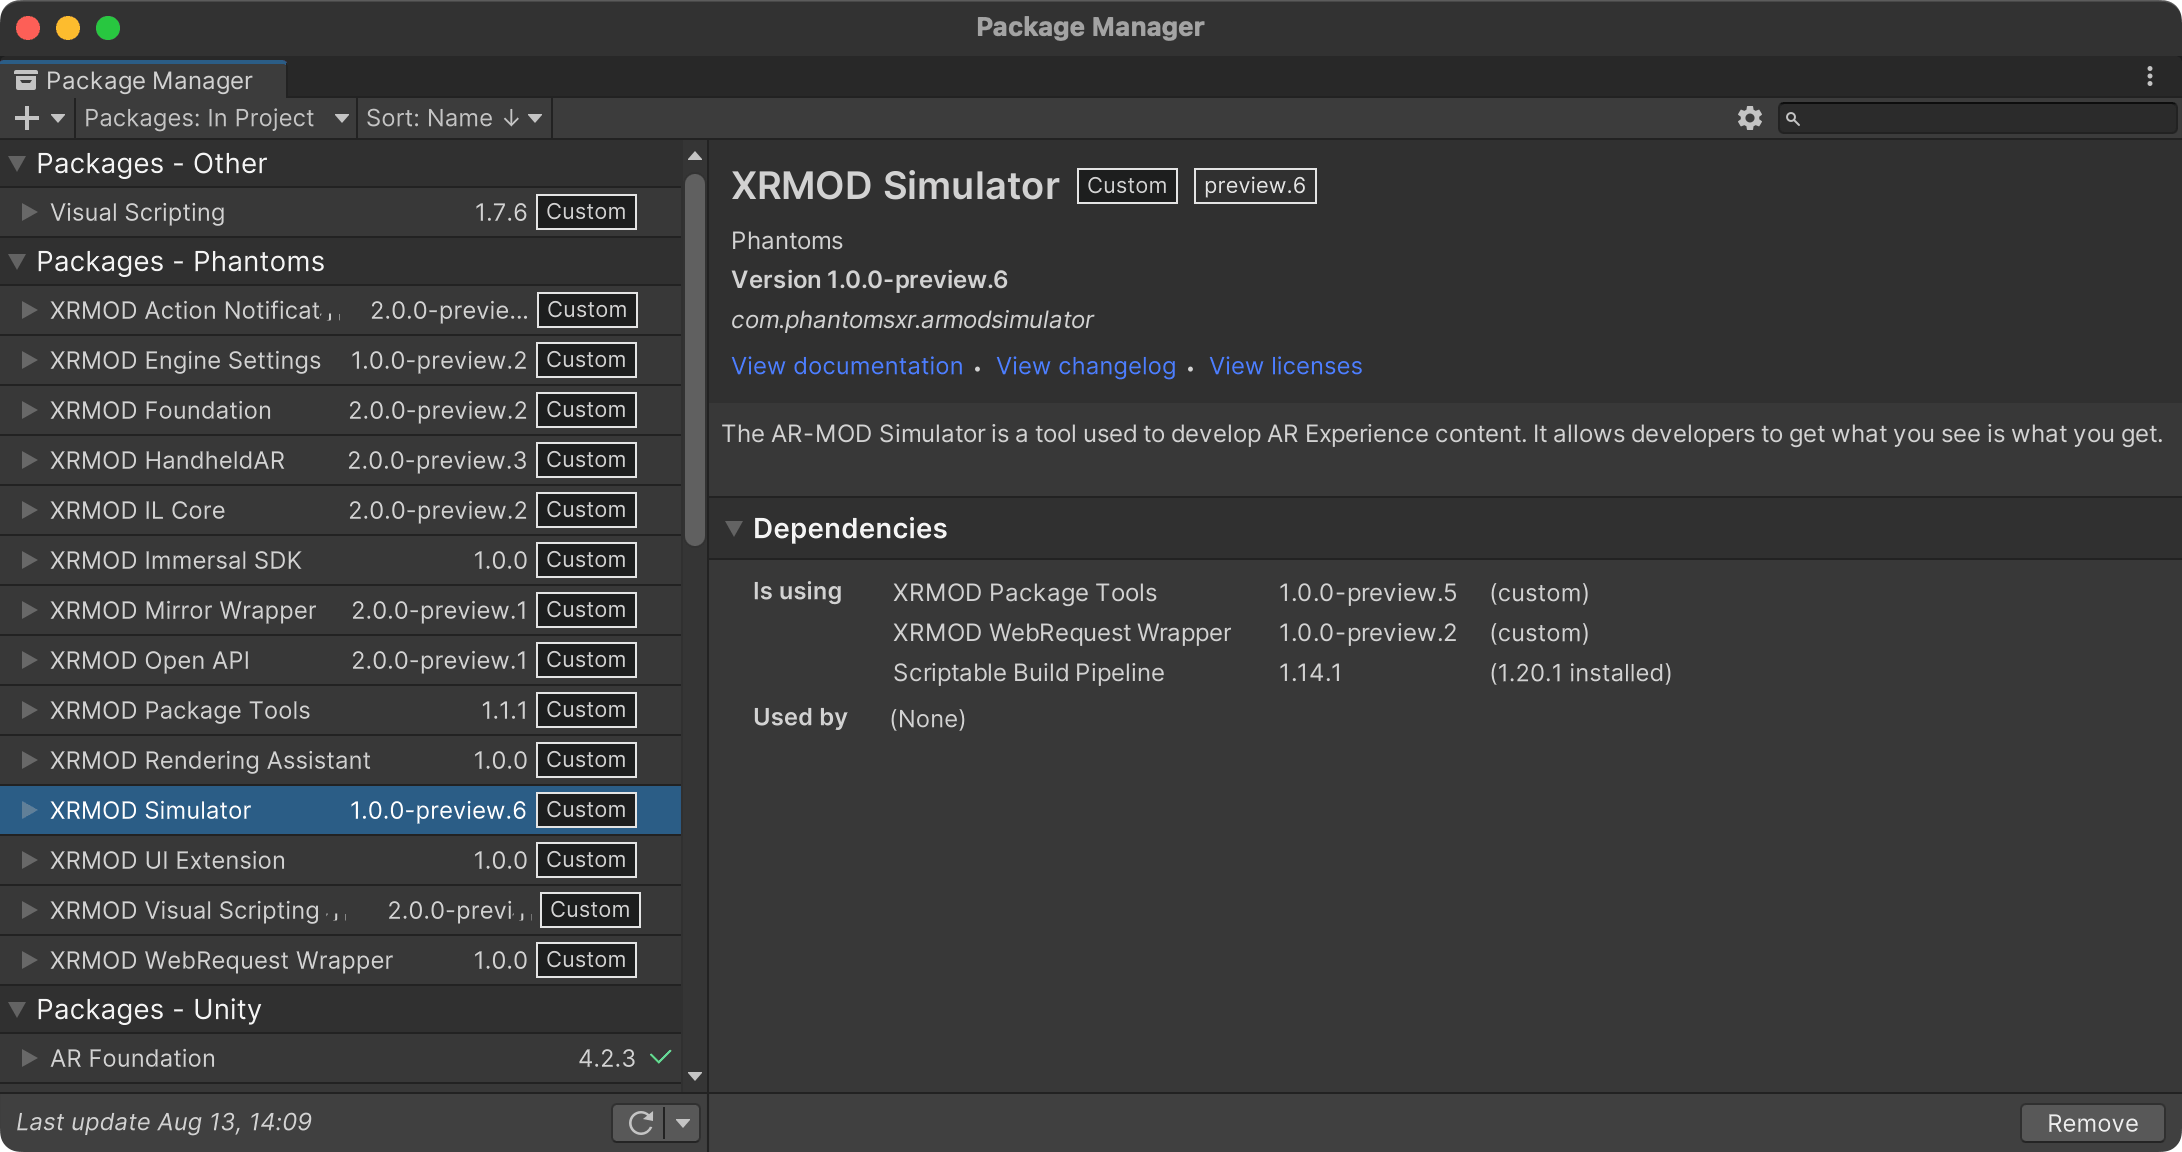
When you finish the installation you can see an XR button in the top left corner of the Unity editor, which is mainly used to start the XRMOD Engine emulator.

Launch Simulator
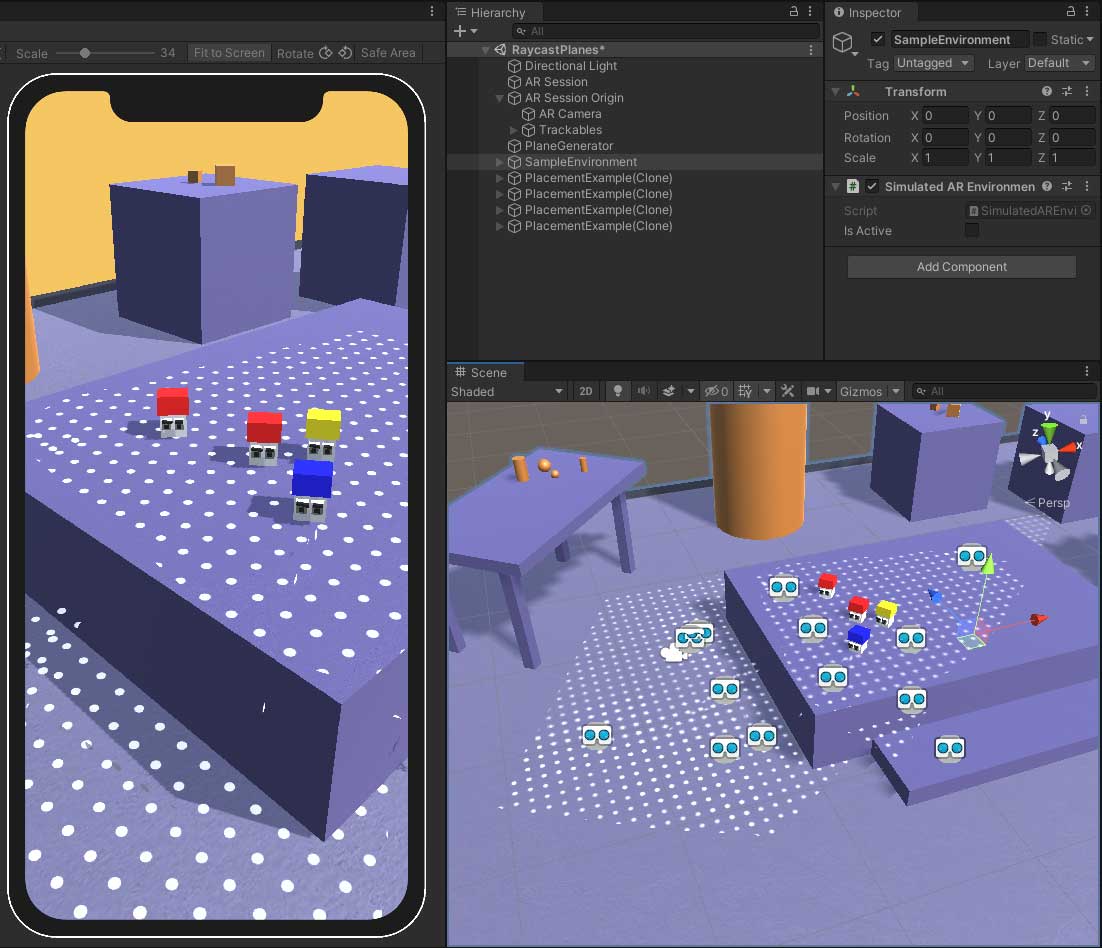
- Click left-top XR Play button to launch XRMOD Engine simulator
- Switch to Game view
- Typing your project name into simulator
- Click Fetch Project to loading our project
Summary
The XRMOD Engine simulator helps us verify our code for bugs and gives us a WYSIWYG development state inside Unity. Although the XRMOD Engine simulator is still very rudimentary, we are constantly iterating on it, and in the next version we will add support for SLAM, planar, image tracking and other algorithms; so that we can truly get what we see is what we get.