XR Web Editor
What is XR Web Editor?
XR Web Editor is a lightweight XR authoring editor, known as the Lite version of Unity. This editor can create a variety of XR patterns, and is very suitable for users with zero code and zero foundation. Compared with other XR editors, the use of XR Web Editor does not require the foundation of Unity, so it is more convenient and easy to use.
XR Web Editor has a large number of built-in tools and resources, which can help users quickly create various types of XR applications, such as AR, VR, MR, etc. It has a friendly user interface and easy-to-understand operating steps, making it easy for users to design and modify.
The advantage of XR Web Editor is that it does not require users to have the foundation of Unity, and there is no need to download and install complicated software. Users can access and start using directly through the browser, which makes the creation of XR applications more convenient. In addition, XR Web Editor also supports multi-person collaboration, allowing multiple users to edit the same XR project at the same time, further improving work efficiency. In a word, XR Web Editor is a powerful and easy-to-use XR authoring editor, suitable for all zero-code and zero-based users who want to create XR applications.

XR Web Editor projects
You must read the XRMOD Cloud manual before you start. Now let's start creating our first XR Web Editor project via the XRMOD Cloud console.
Register an XRMOD Cloud account and verify it.
Sign in and create your first app
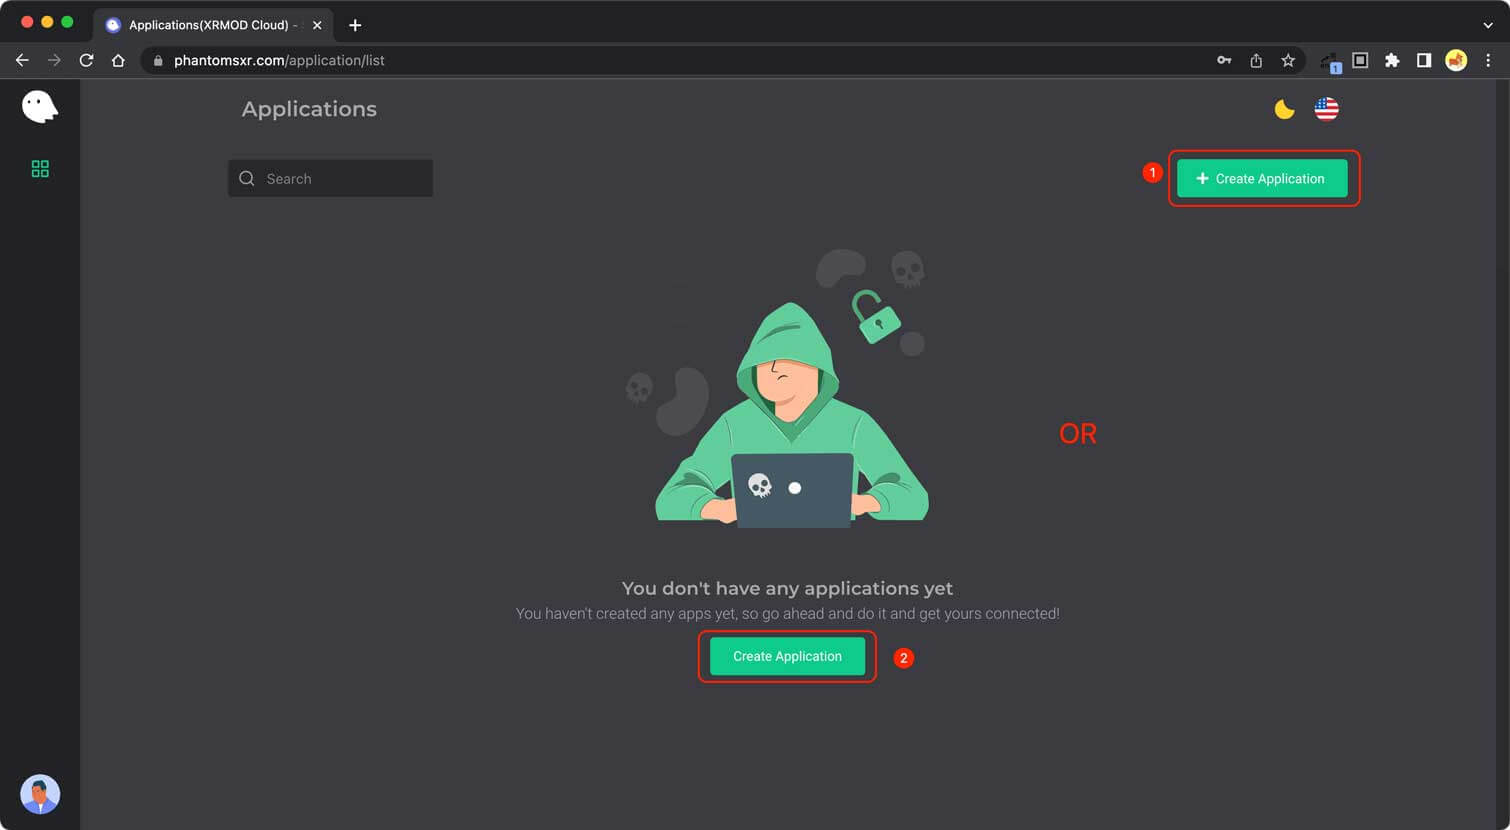
Click on the app in the list of apps (i.e. the one you just created) to enter it.
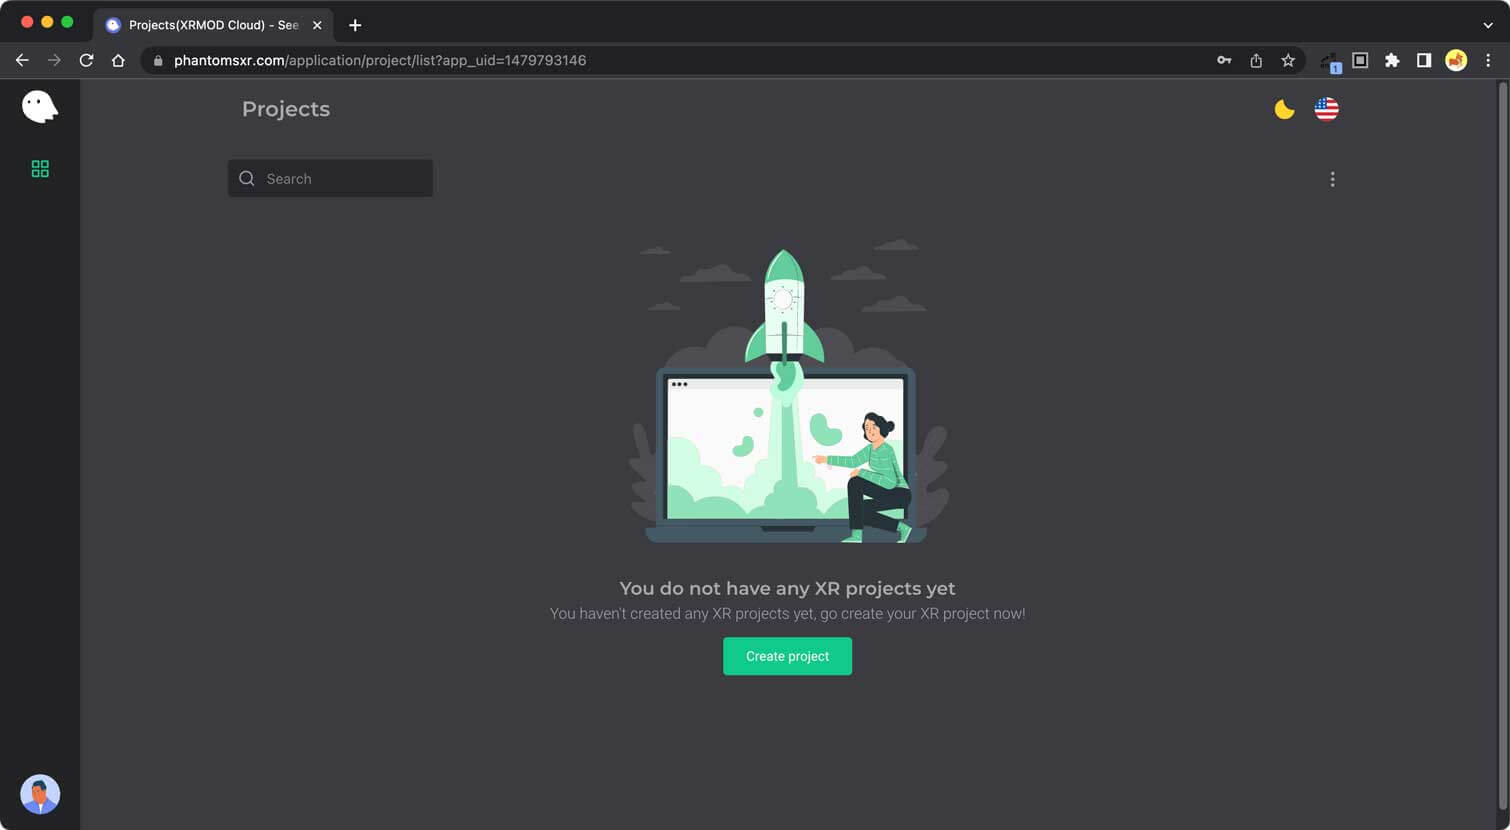
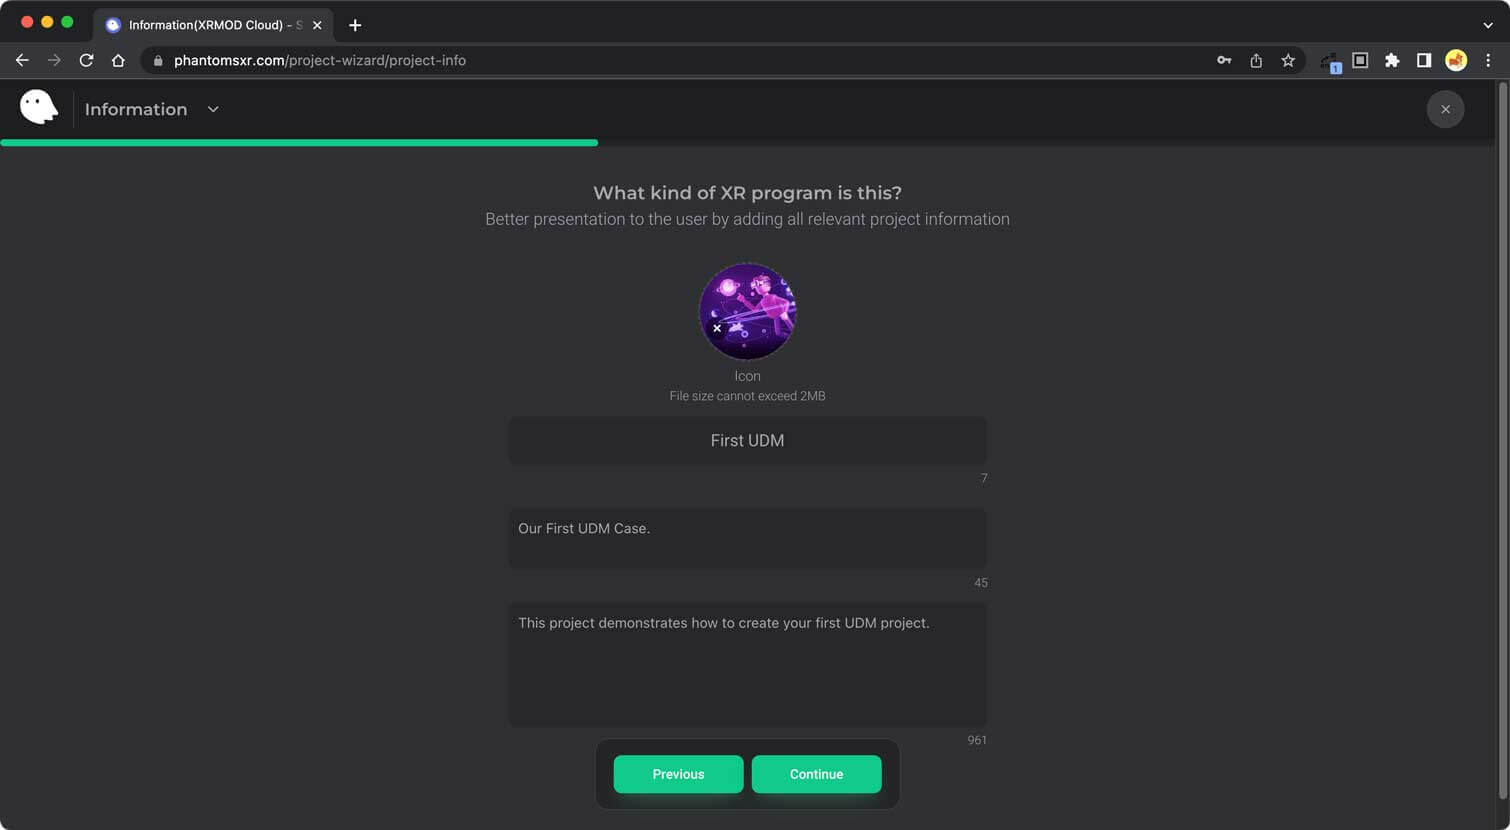
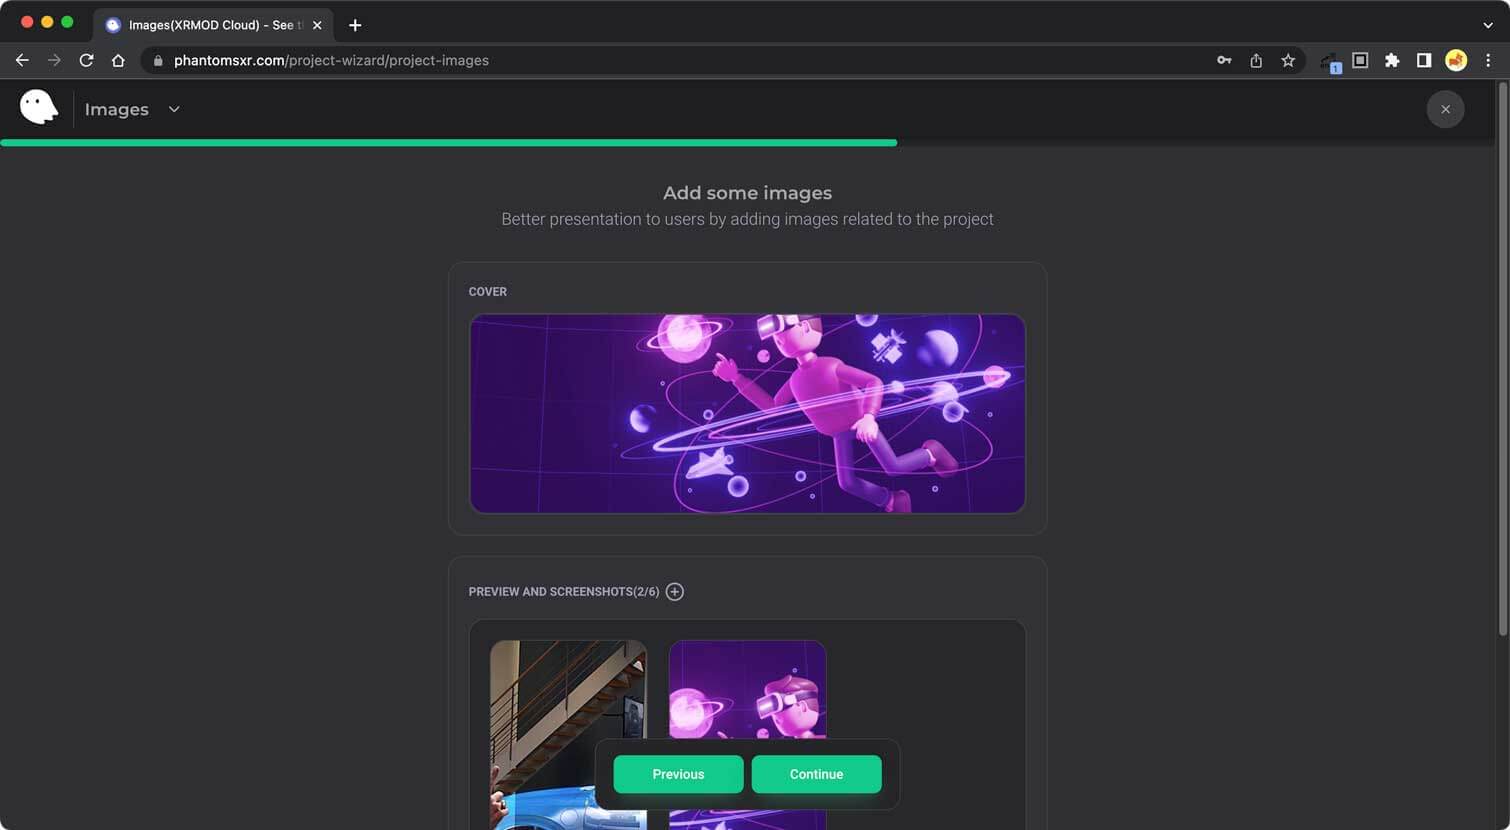
Click the Create project button or right-top menu to create our first XR-Project. You will see the following screen, at this moment we have to select the XR Web Editor category to create.

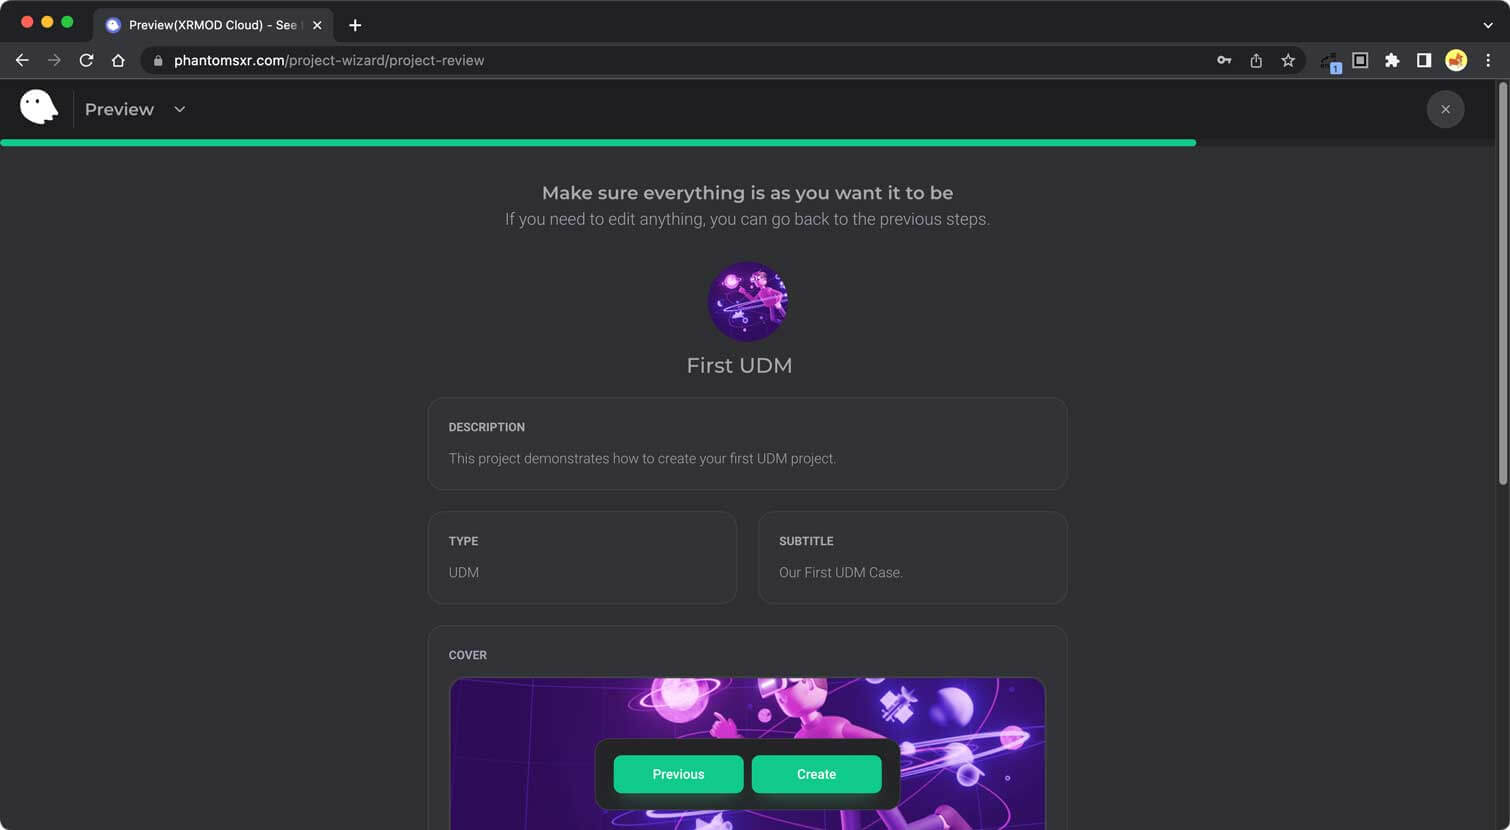

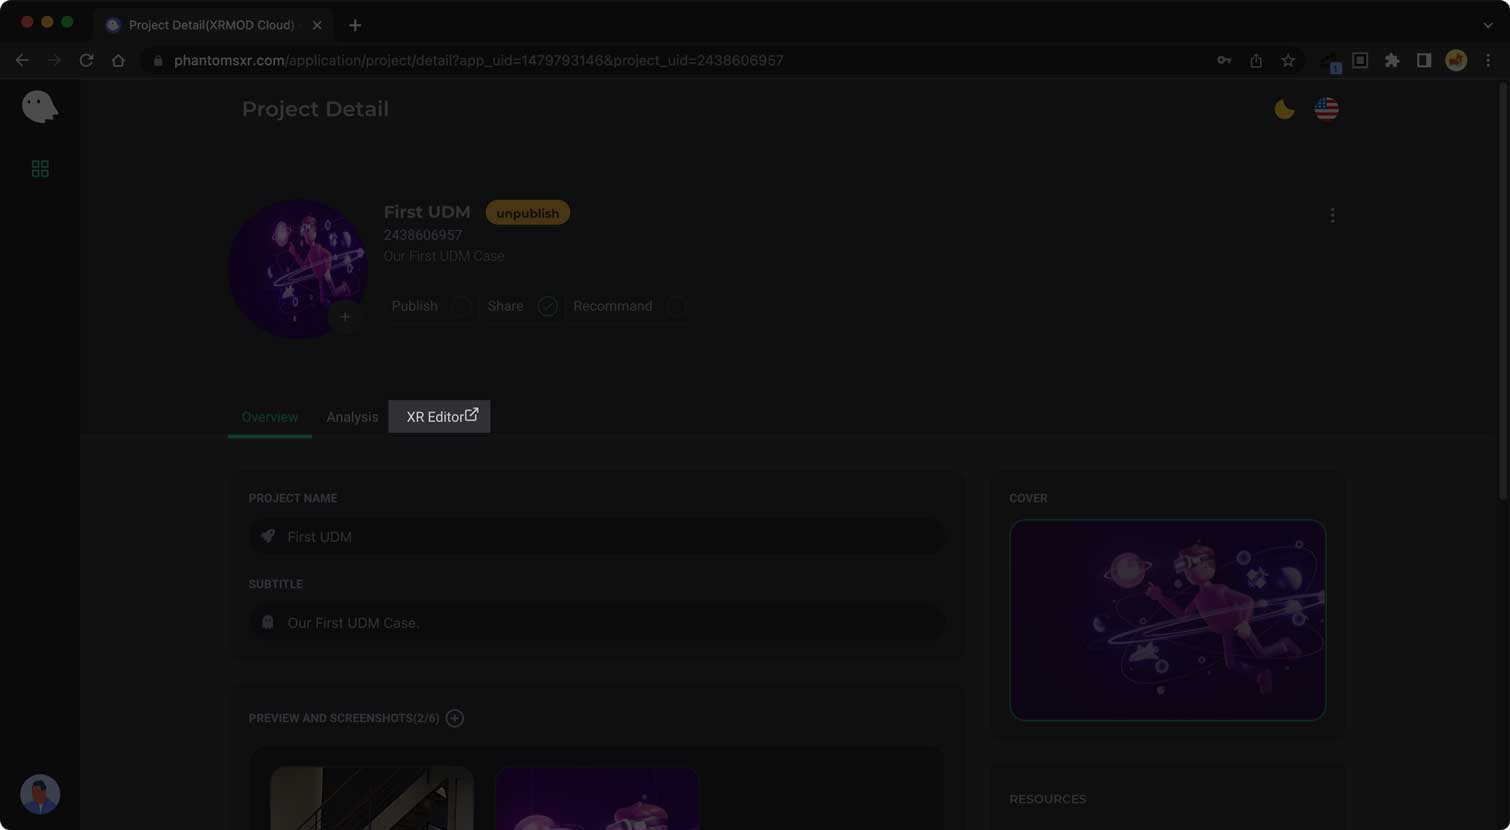
Now our XR Web Editor project has been created. But it is not yet ready for use and needs further setup. In the first place, we need click on the XR Editor tab item to enter the XRMOD Cloud Editor.
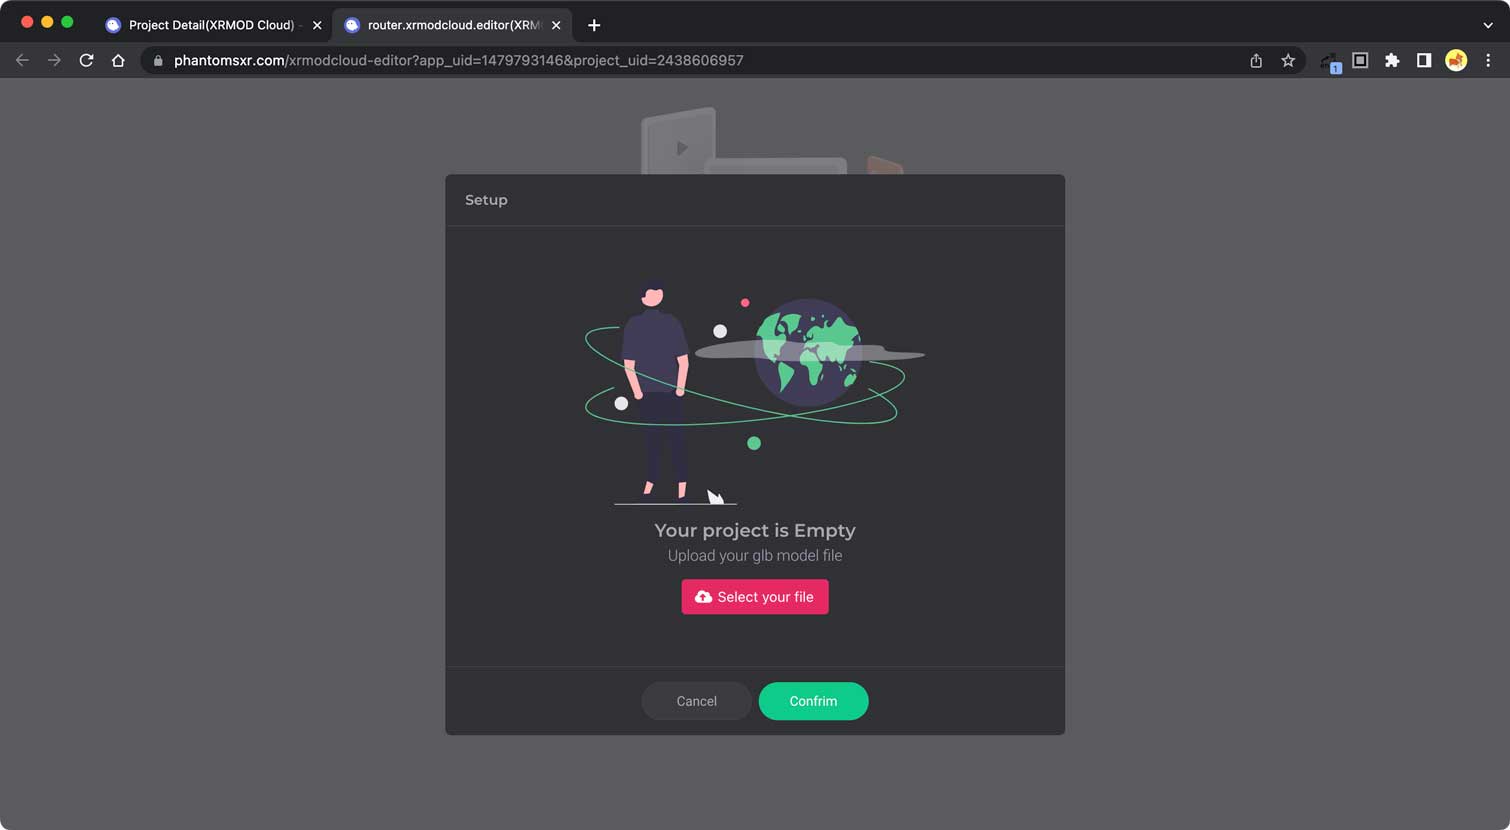
A newly created XR Web Editor project will prompt you to upload your own 3D model since it is not initially set up with a 3D model. Of course we also consider that creators may not have 3D models, so we provide over a million 3D models for you to use. If you use the public library model, here you click Cancel to go to the Editor home page.
Open our Resources panel via the Library menu bar at the top of the Editor. The default opening panel selects your private 3D model page, you can click Private and Public to switch between them.

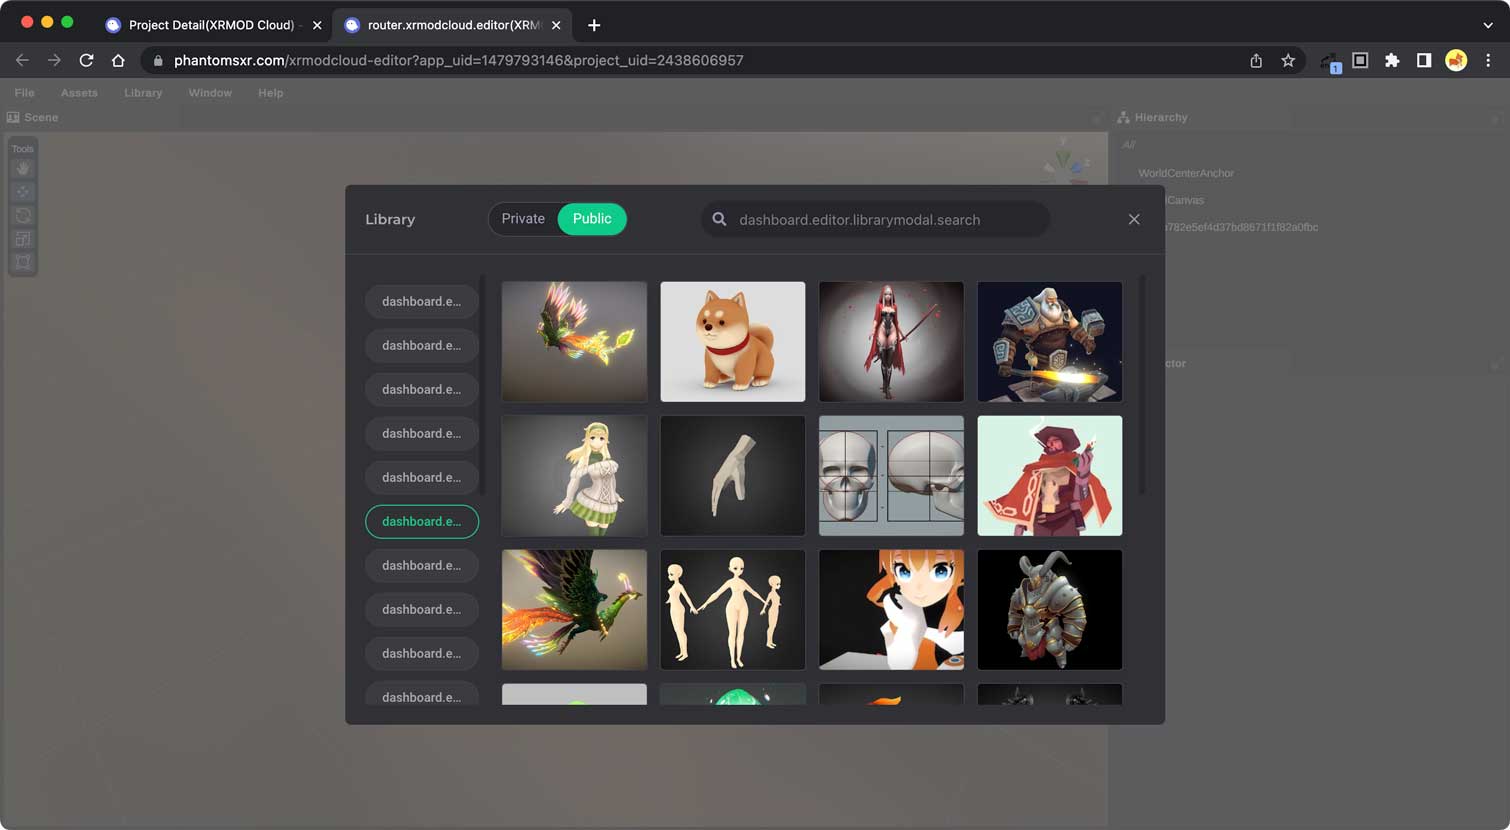
Find a 3D model you like and add it to the Editor for further editing with a right mouse click.
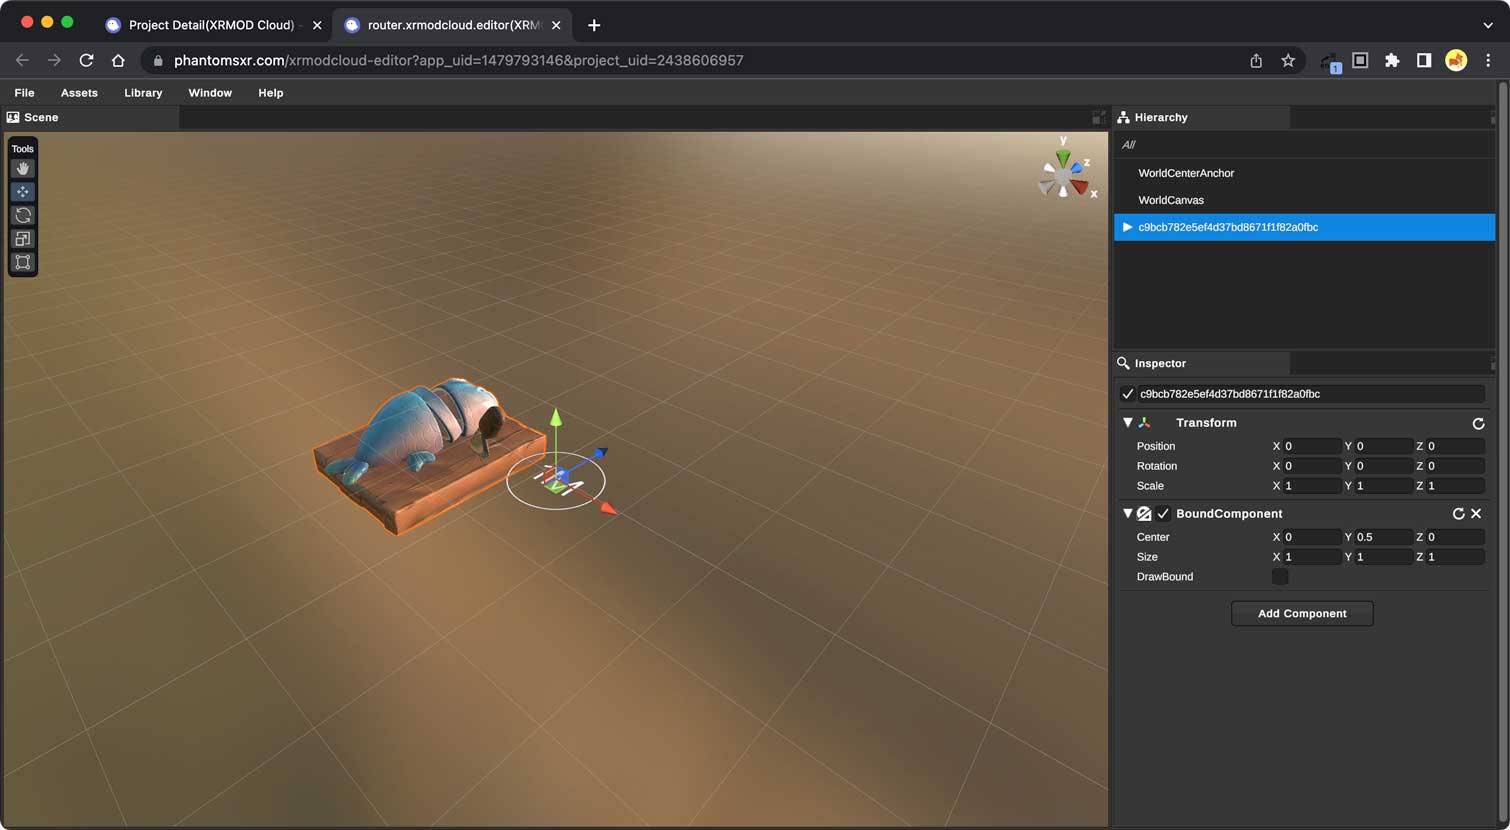
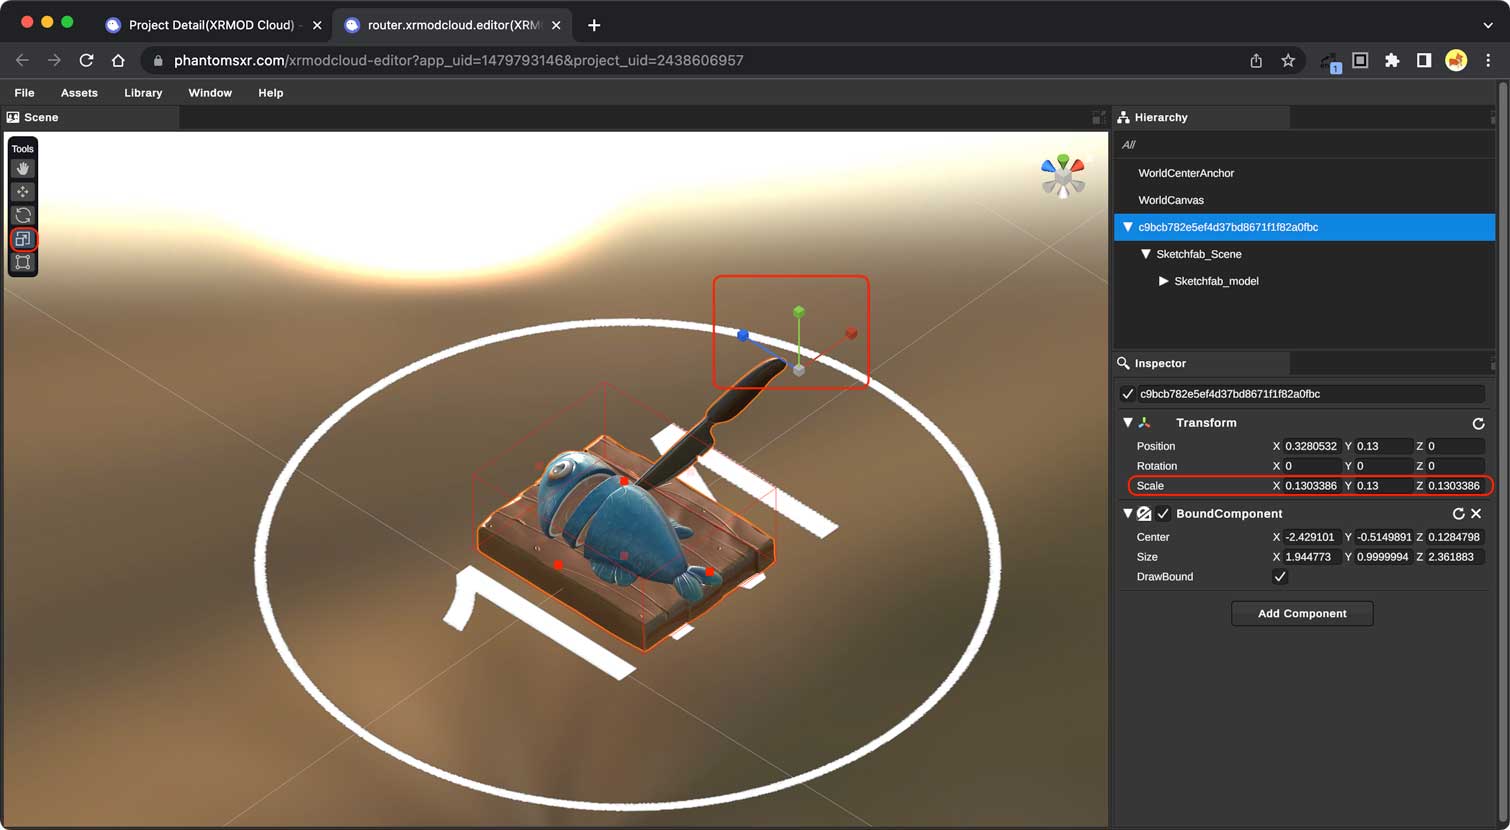
Next we need to set an enclosing box for the object in order to tell XR the size of our 3D model.
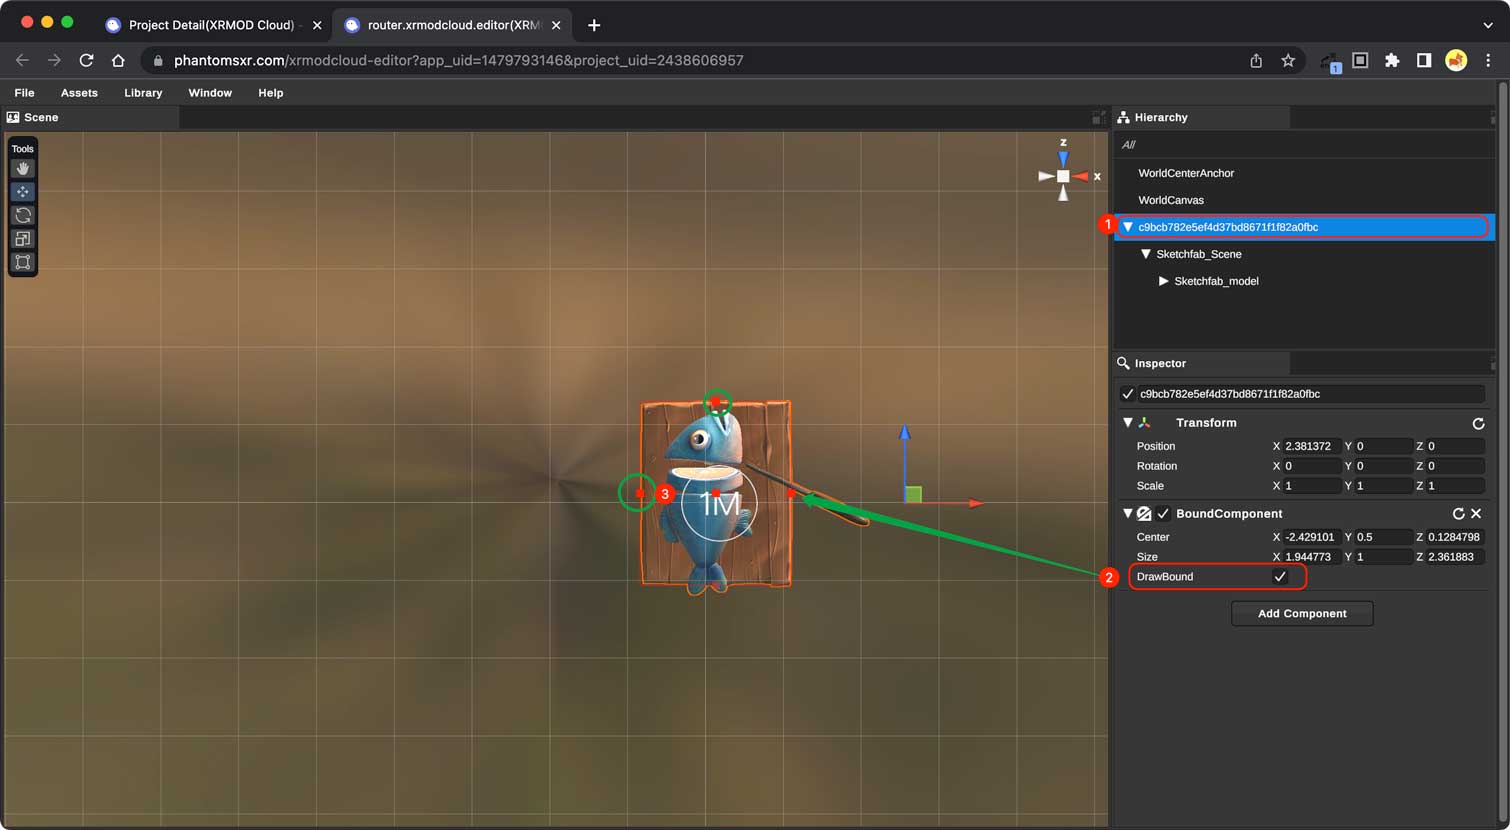
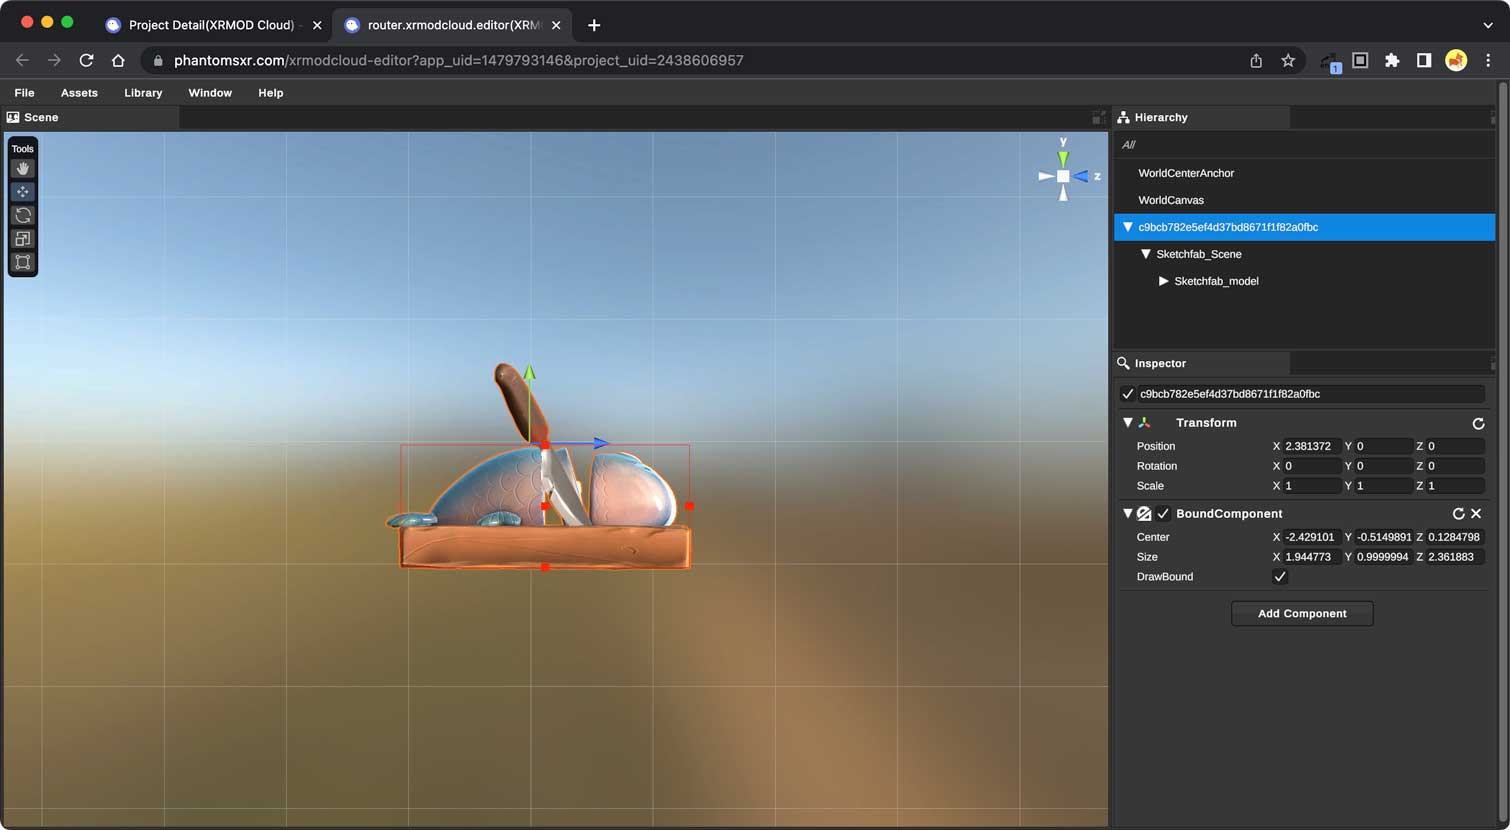
Since the size of 1 unit in XR is 1 meter in reality, if the 3D model is too large it does not meet the actual requirements, while each small square in the scene is one meter, so we also need to adjust the scaling of the model.
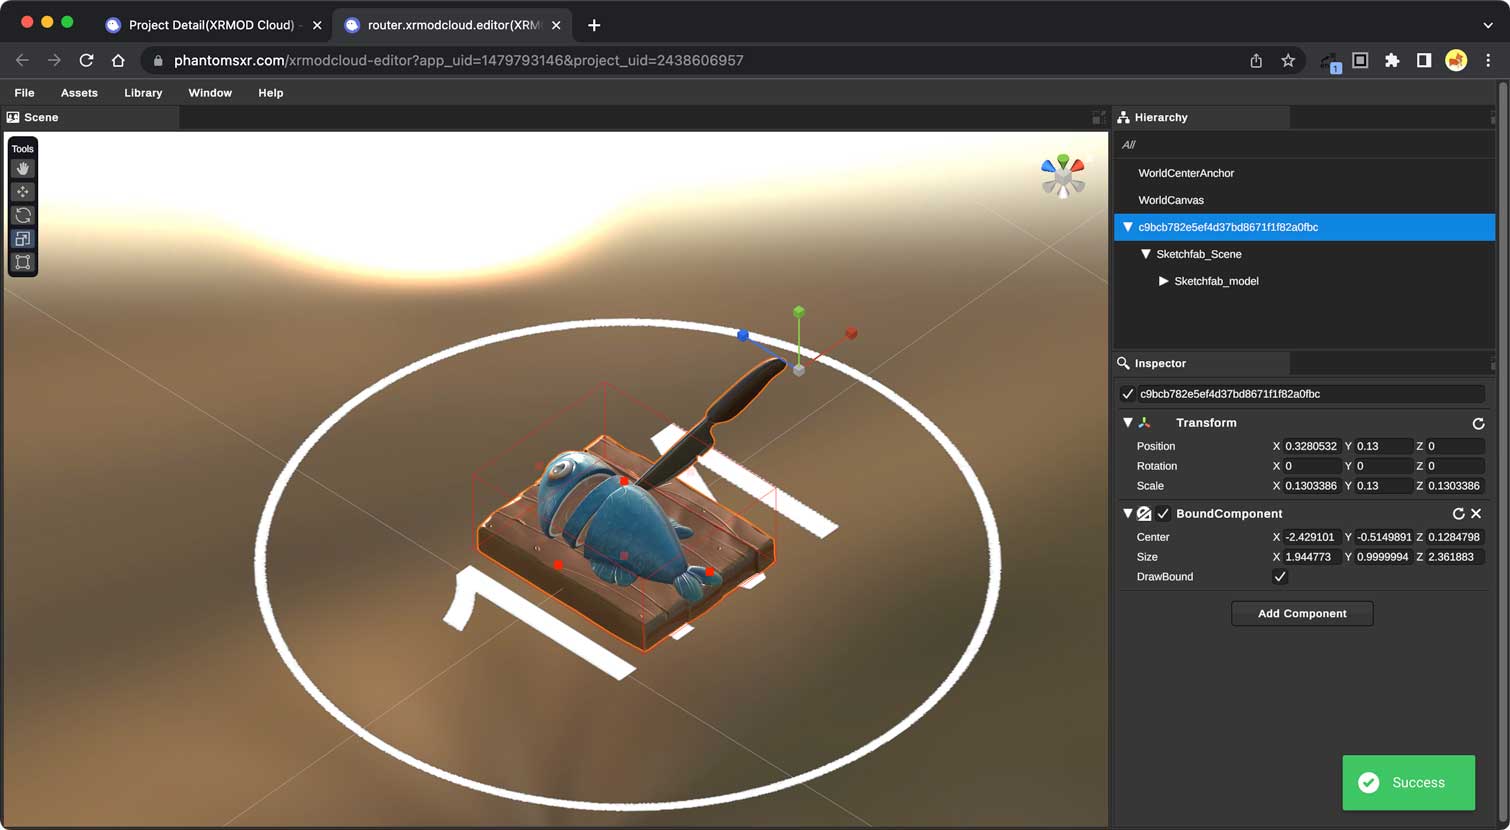
After everything is edited we need to save the project, otherwise the data will not be stored.

Review in App
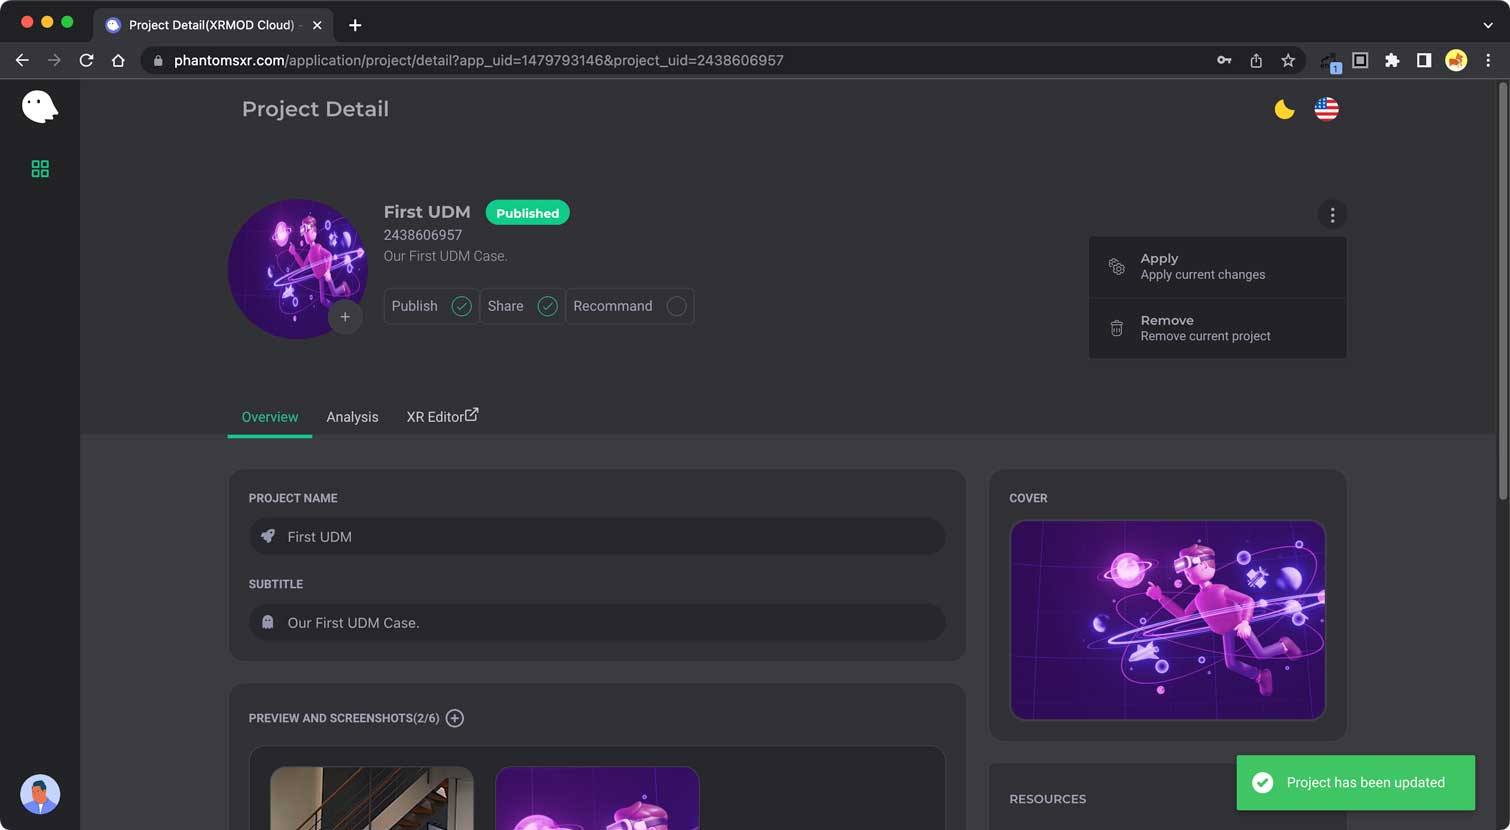
Go to your XR project and set its status to Publish (check the Publish box), then save your project via right top menu.

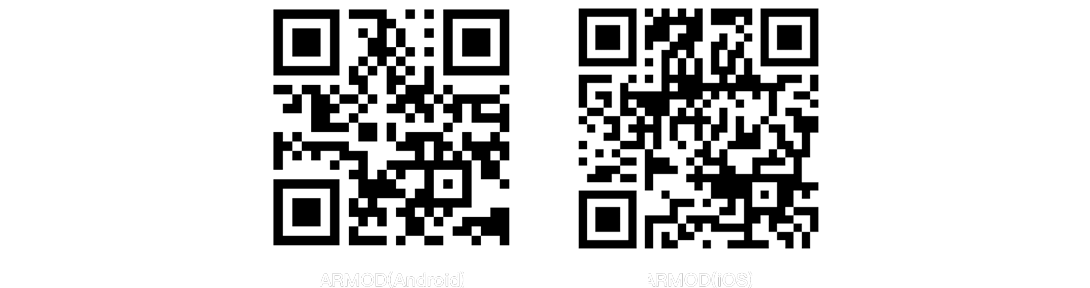
If you don't have your own XR app yet, you can scan the QR code to download the XRMOD app to see your XR experience.
Ok. If you use our XRMOD APP, you can turn on the share of your project; this will allow you to see your XR experience in the XRMOD App community page. If you do not want to turn on sharing, you can also enter your XR-Experience Id on the third page of the XRMOD APP to experience it.